Decal Workshop
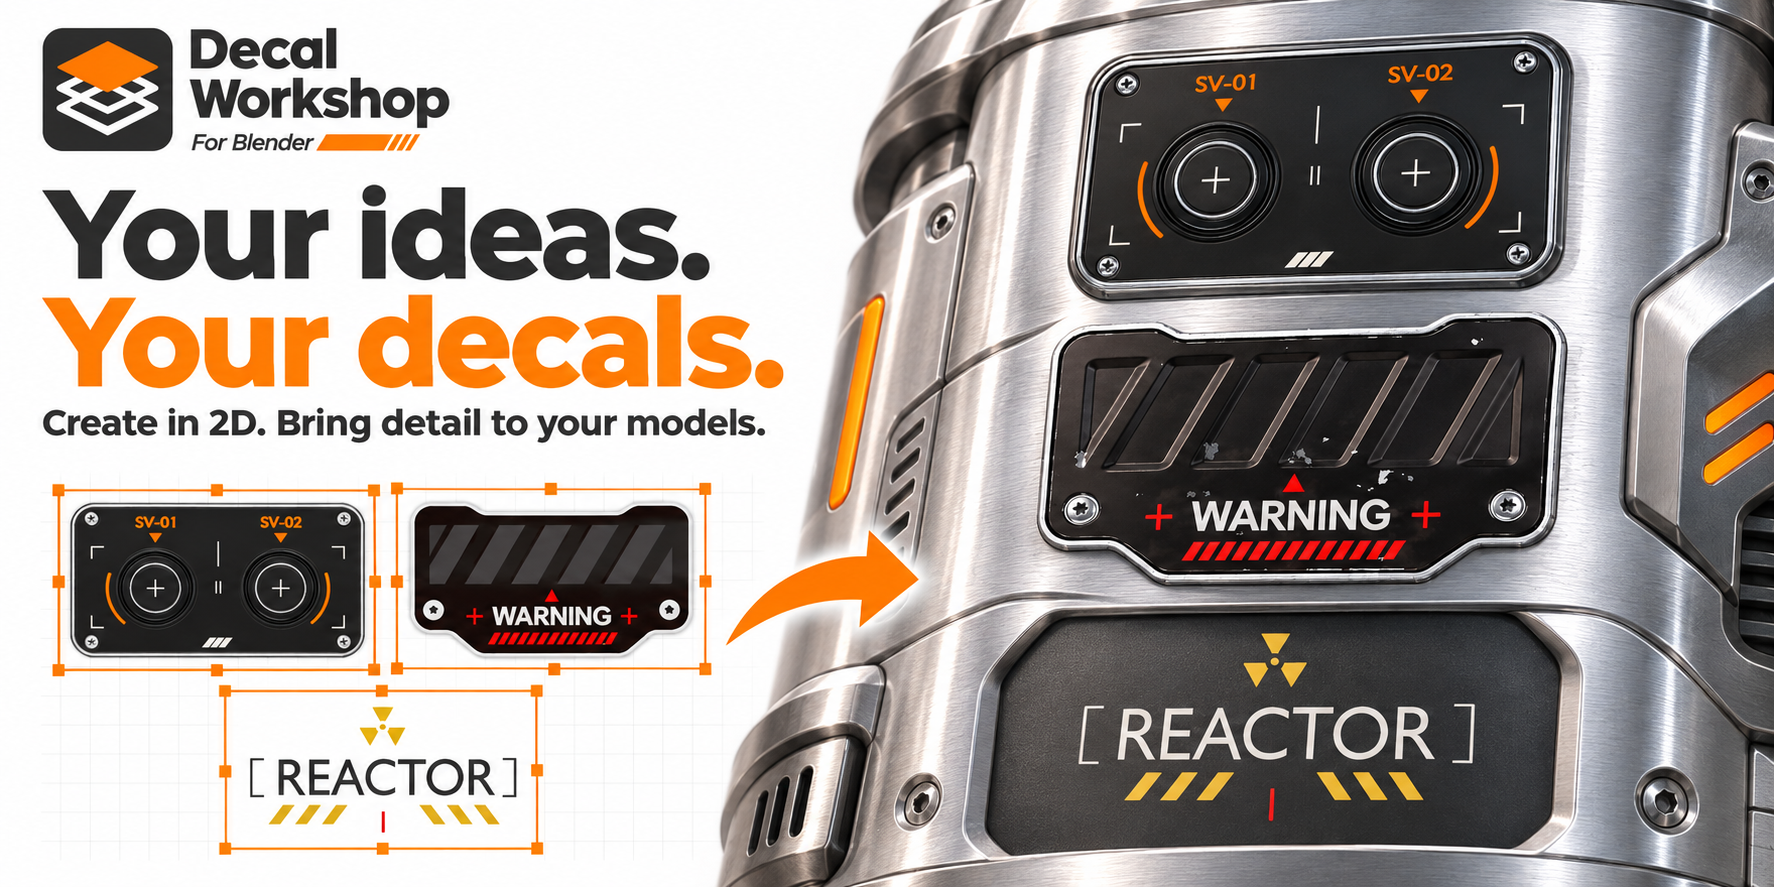
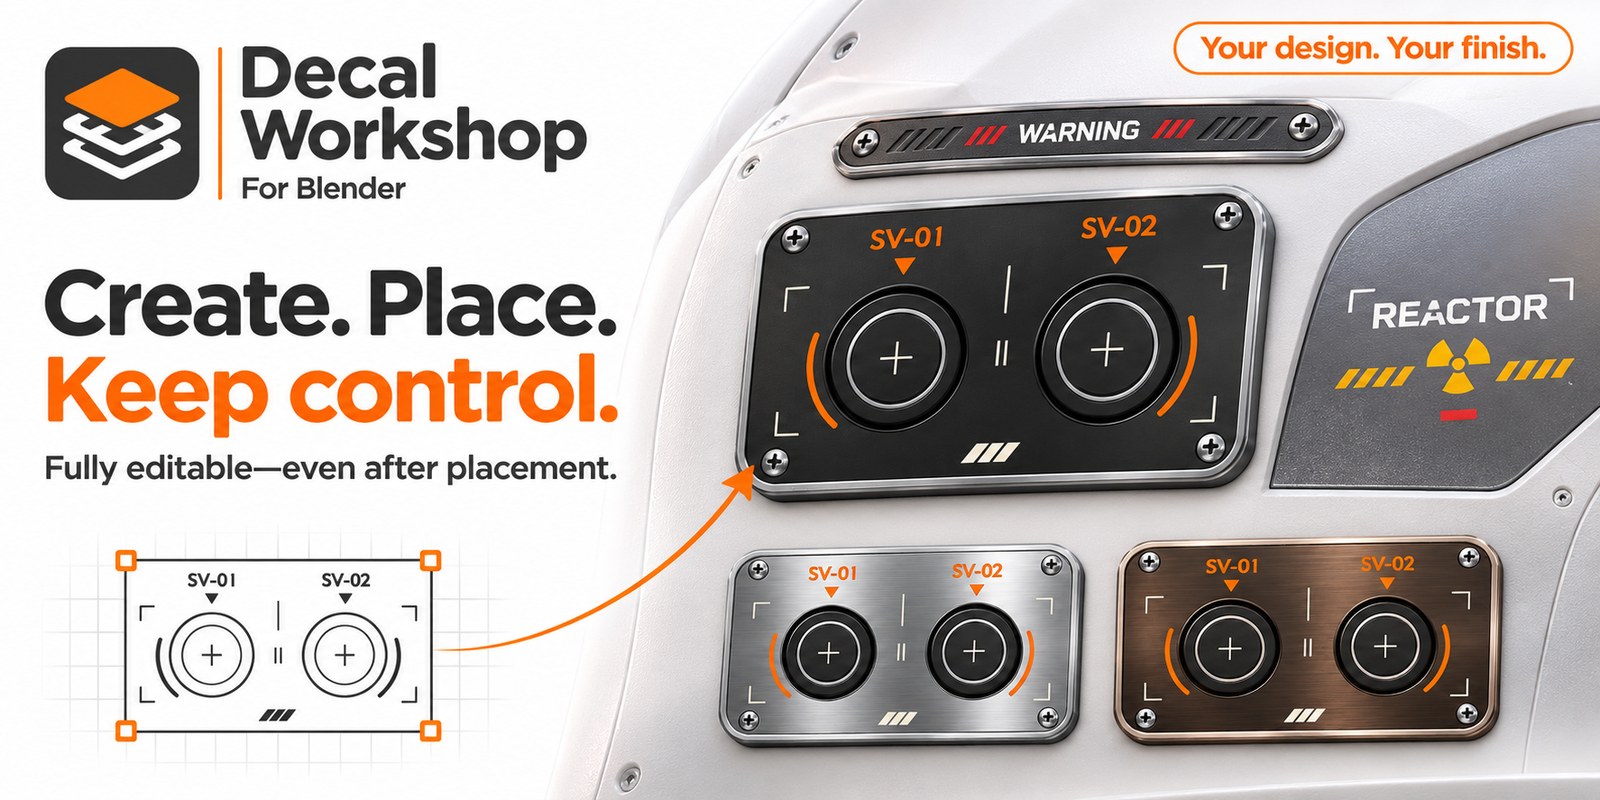
Professional hard-surface decals, drawn in 2D, ready in minutes. Draw panels, grooves, vents, screws and text on a flat canvas, see the relief live, and drop the result on any mesh in Blender. Everything stays editable, even after placement.
Get started in 5 minutes See all features Watch the tutorials
Requirements
Blender 4.2 or newer. The add-on lives in View3D > Sidebar > Decal Workshop.
Why Decal Workshop?
Hard-surface models live or die by their details: panel lines, vents, bolts, hatches, warning labels. You need lots of decals, fast, and each one has to look right up close.
The usual options all cost time: model every detail by hand, paint height maps in another program and round-trip the textures, or settle for a pack that never quite fits your model. Decal Workshop removes those steps.
- Draw in 2D, get 3D detail. Simple shapes on a flat canvas become a height field, a normal map and a color map. No sculpting, no baking setup, no external tool.
- Professional PBR quality. Five bevel profiles, thin grooves that keep their full depth, a Principled material per shape with one-click presets, wear, dirt and scratches.
- A real toolbox. 15 shape tools, relief, color and mask layers, groups, mirrors and arrays, image layers and 3D objects as relief sources.
- Preview while you work. Orbit the canvas, light it with a movable sun, and test the decal on a mesh before you save it.
- Start from your model. Turn selected faces or edges into a canvas, or click a path straight on a surface.
- Build your own library. Save, organize, recolor and share your decals. Every entry reopens as editable layers, and exports to PBR textures, DECALmachine or atlases.

Made once, reused everywhere
A decal is a small editable file, not a frozen texture. Change a groove, a color or a text months later, replace the library entry, and update the decals already placed on your models, without losing their position or size.
Real PBR materials, built in
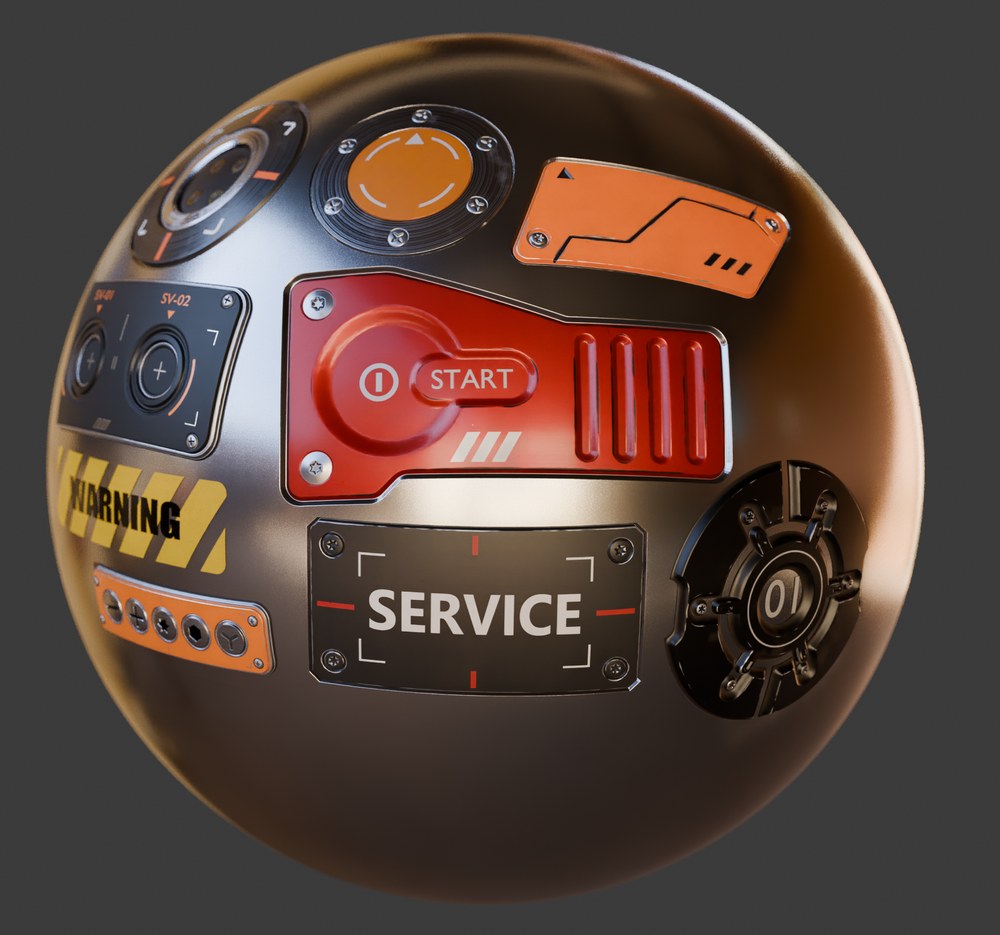
A decal is not just a normal map. Every shape carries its own Principled material, and the saved decal comes with full PBR maps: color, roughness, metallic, normal and height. Under Blender lights it reads like real metal, paint and rubber, up close.
-
One click presets
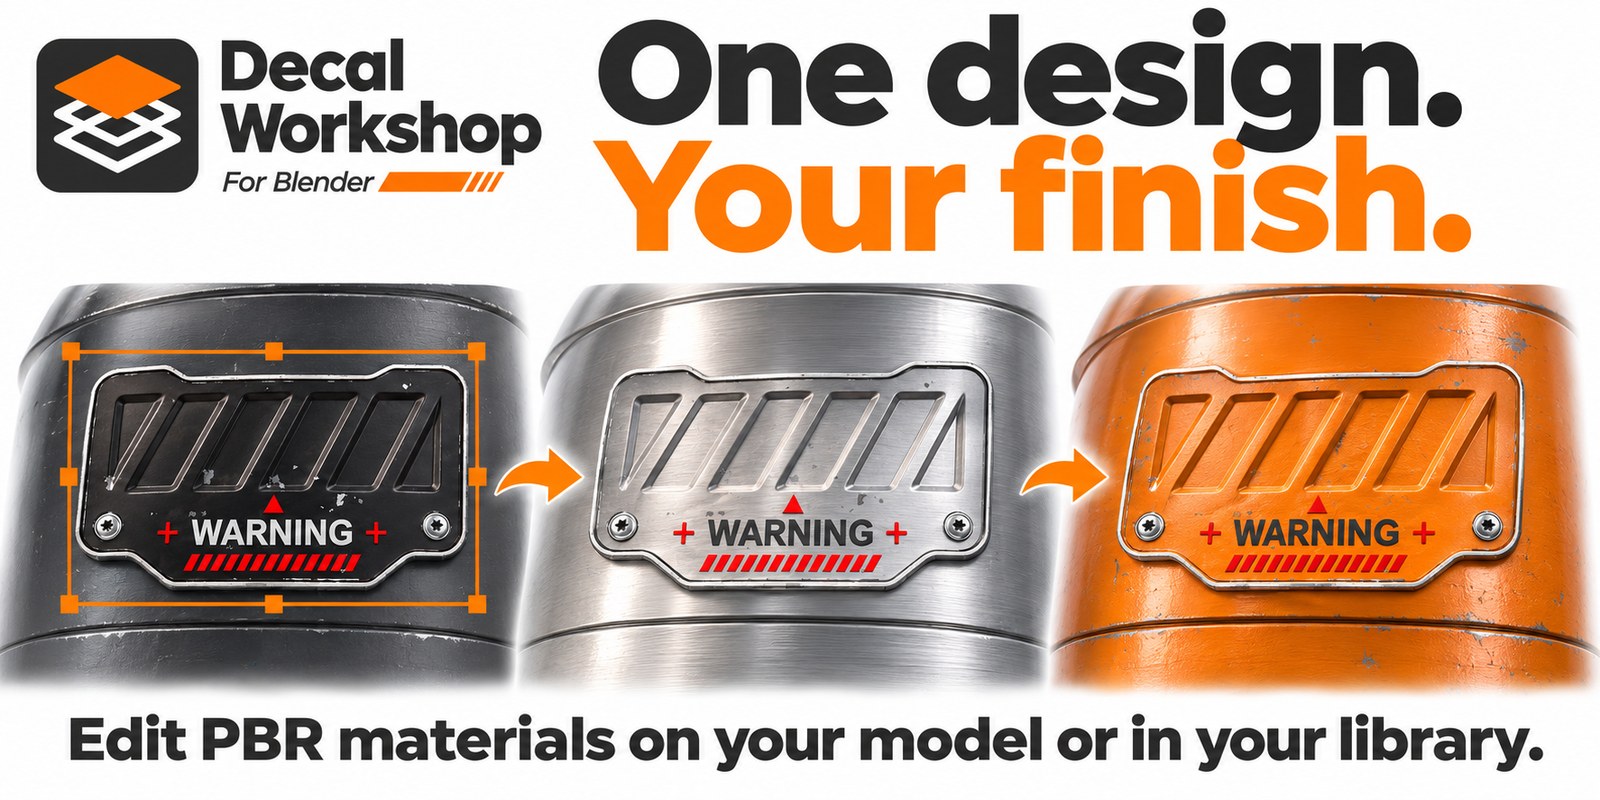
Pick a finish from the Presets list and the material is ready:
- Metals: Steel, Aluminium, Chrome, Gold, Copper, Brass, Titanium, Cast Iron, Brushed Metal
- Painted: Car Paint, Painted Metal, Chipped Paint, Edge Worn Paint
- Others: Plastic, Glossy Plastic, Rubber, Ceramic, Concrete, Fabric, Emissive, Varnished Wood, Sticker
Every value stays editable, and My Materials keeps your own finishes for the next decal.
-
Wear, dirt and scratches
Procedural effects on each material, all with live settings:
- Wear: paint worn off the edges, revealing the metal underneath
- Dirt: patches and grime gathered in the cavities
- Scratches: length, width, density and angle
- Micro Bump and Brushed metal: fine grain and striations in the roughness and normals
Paint a mask to keep an effect only where you want it.

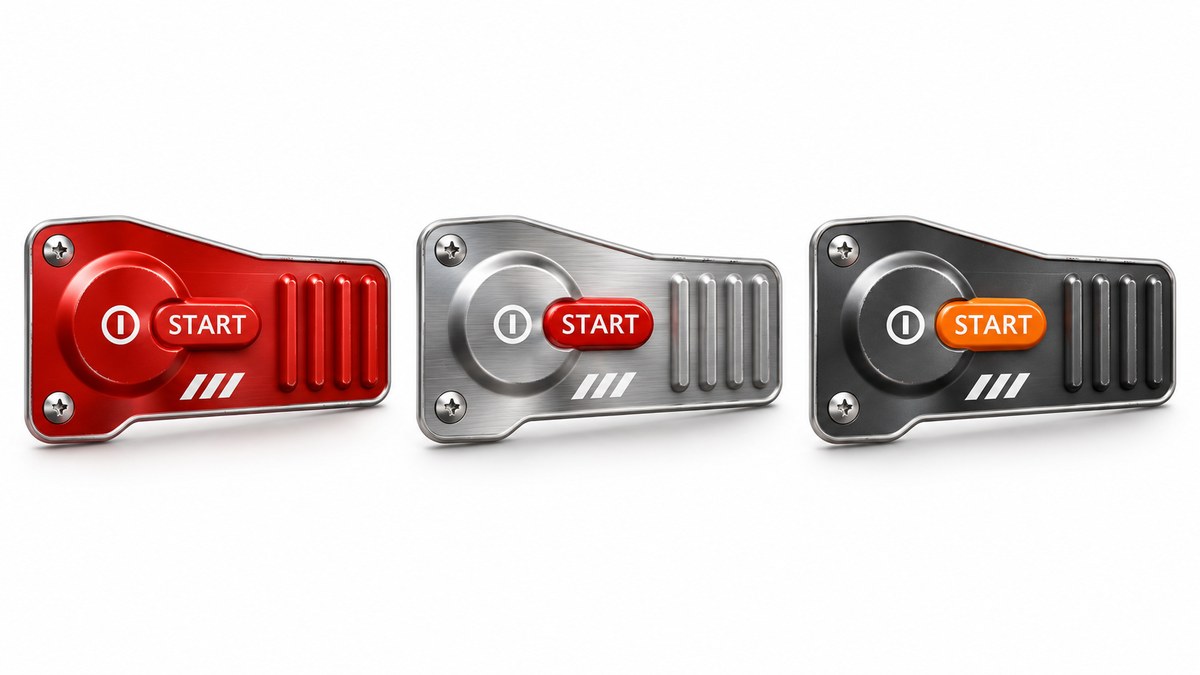
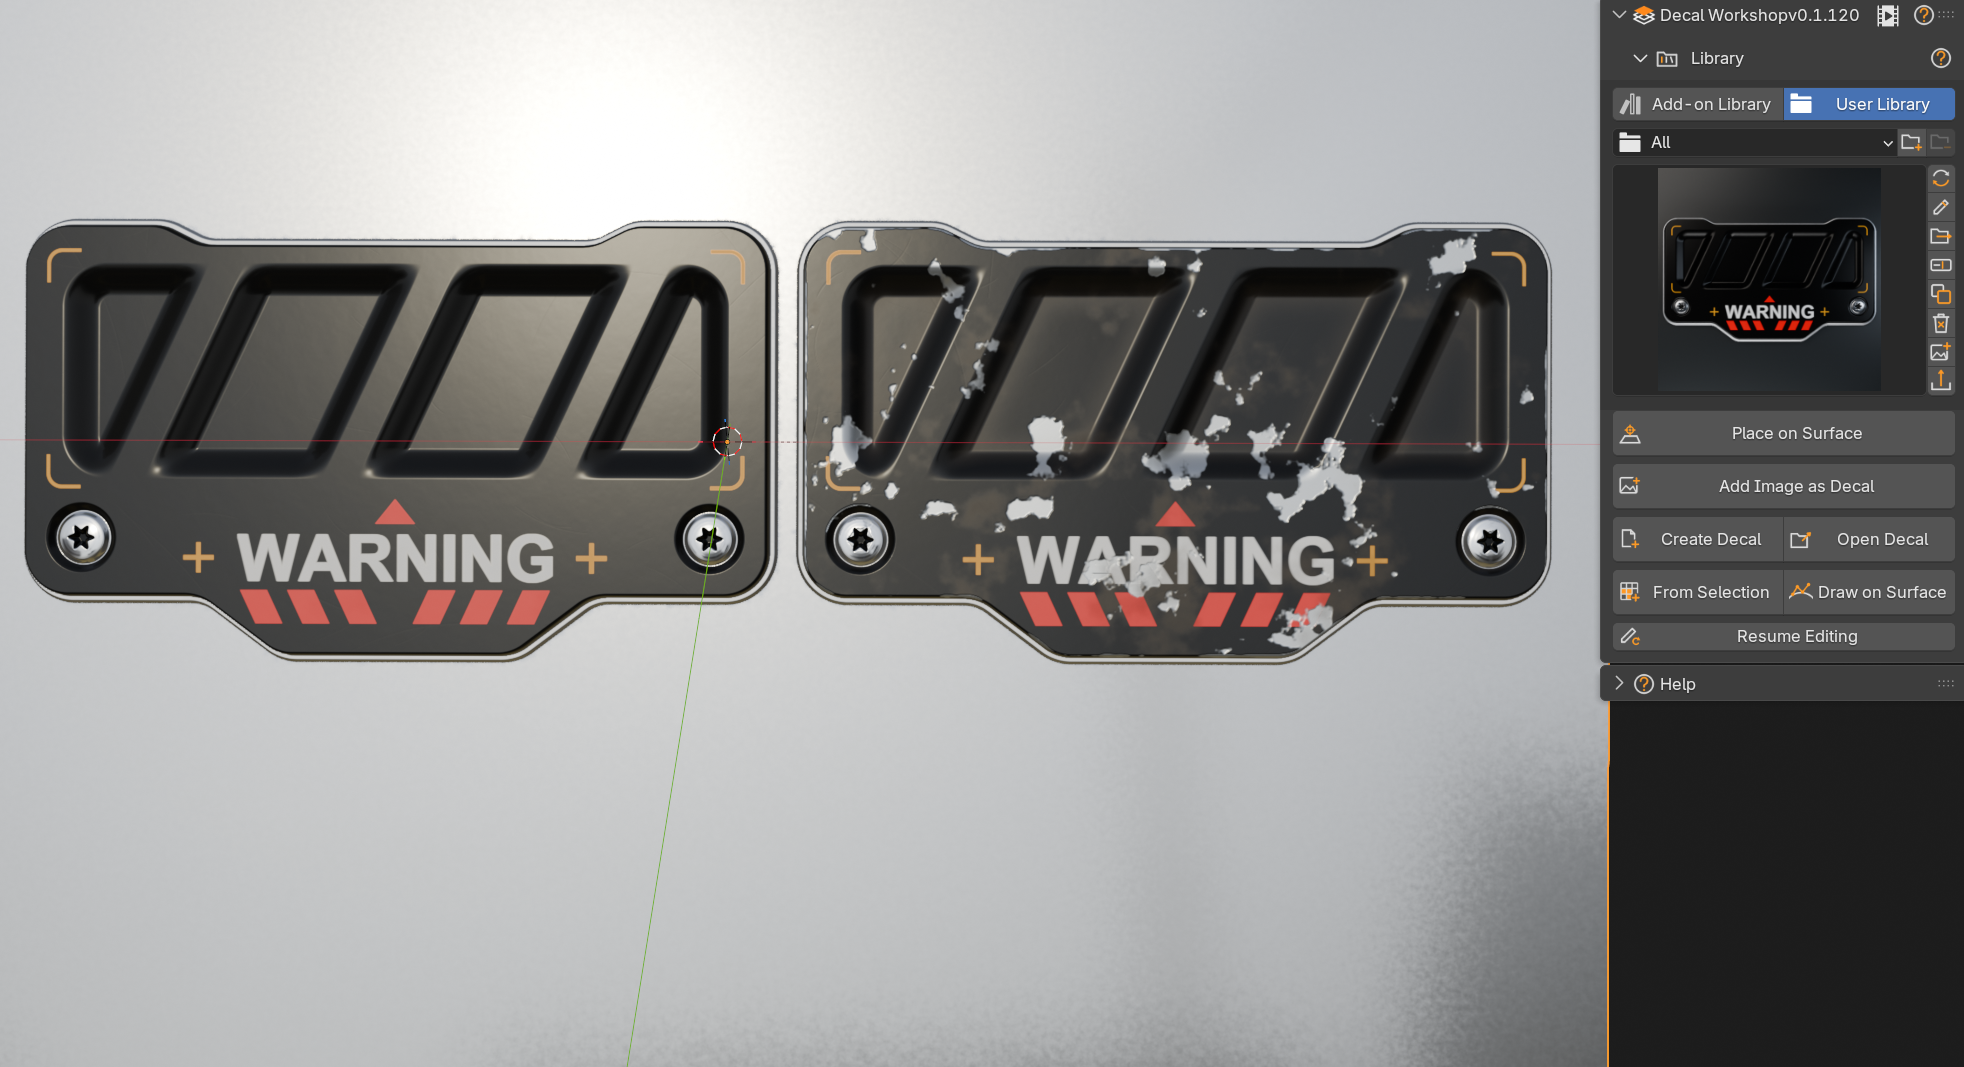
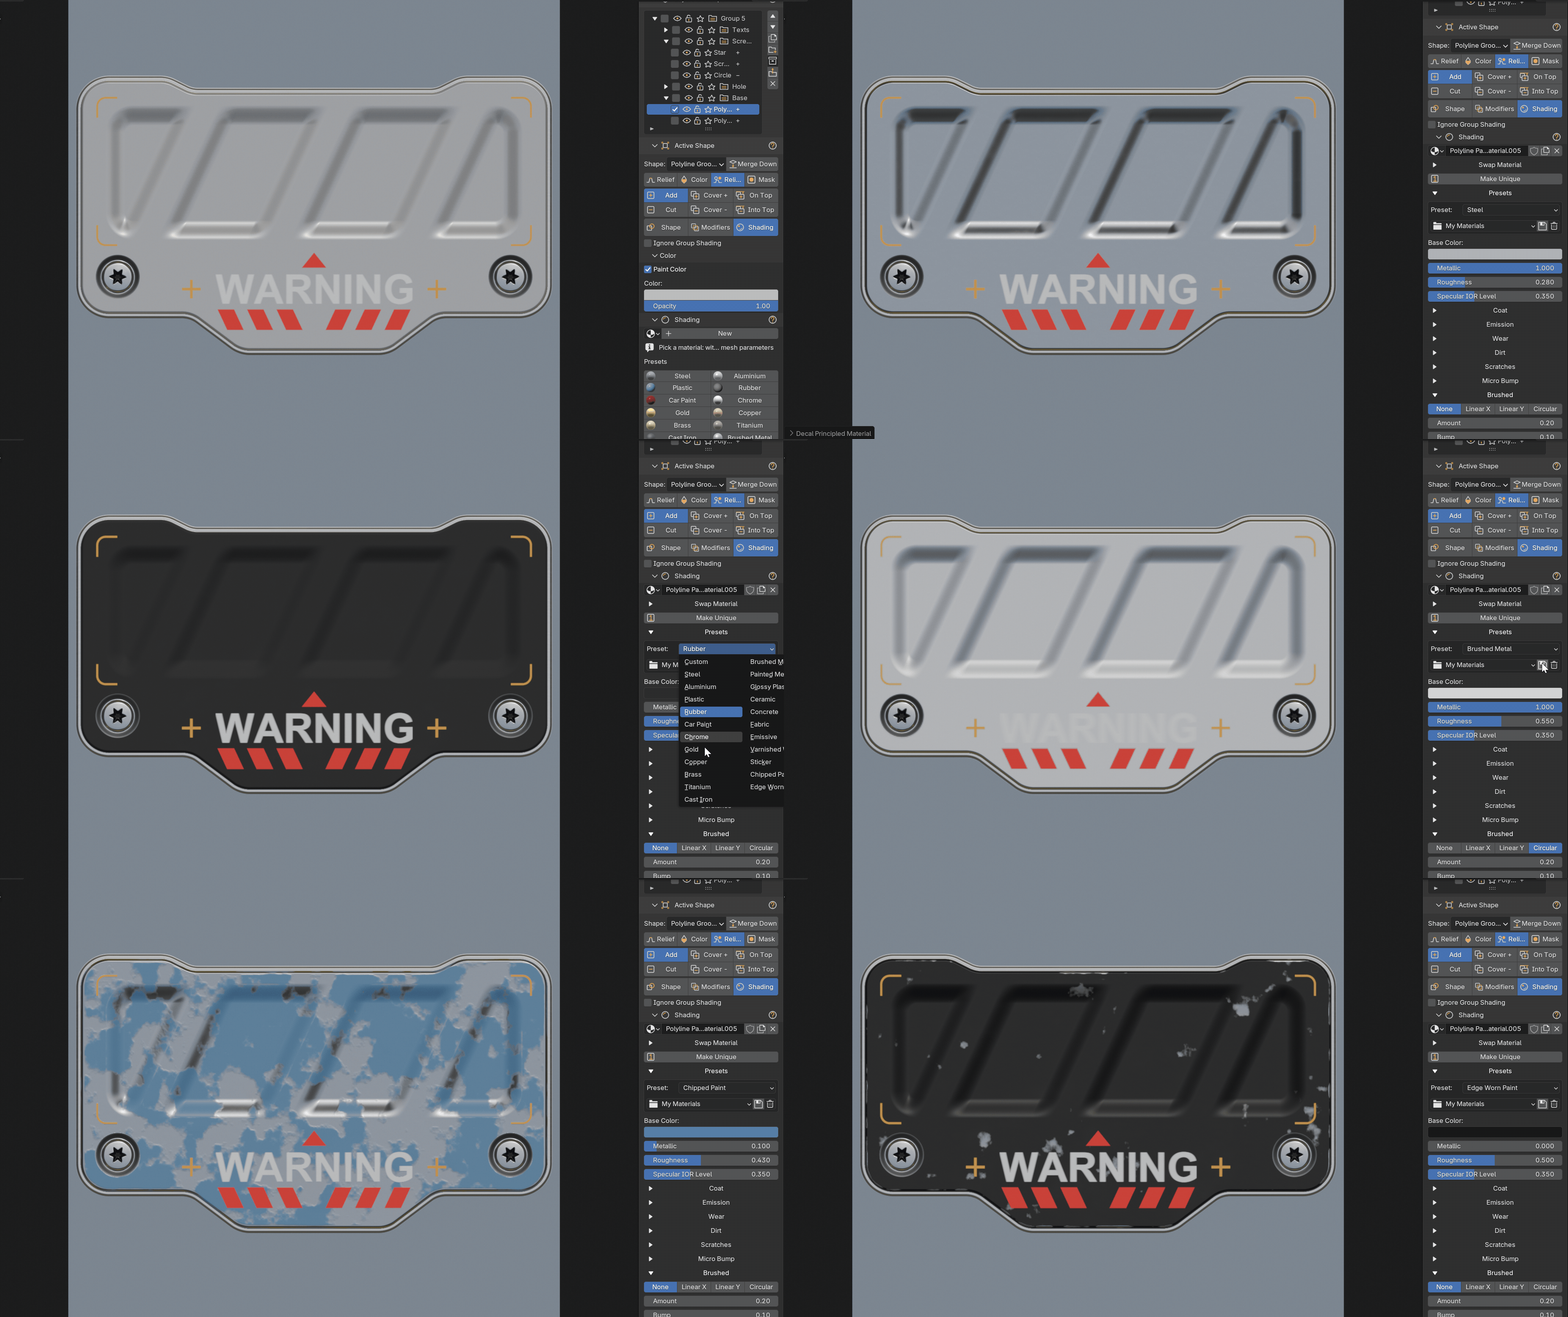
The finish is part of the result: the saved color, roughness, metallic and normal maps include the wear, dirt, scratches and grain, and the placed decal uses them.
Materials and Finishes · Wear, Dirt and Effect Masks
What you can do
-
 Draw editable 2D layers
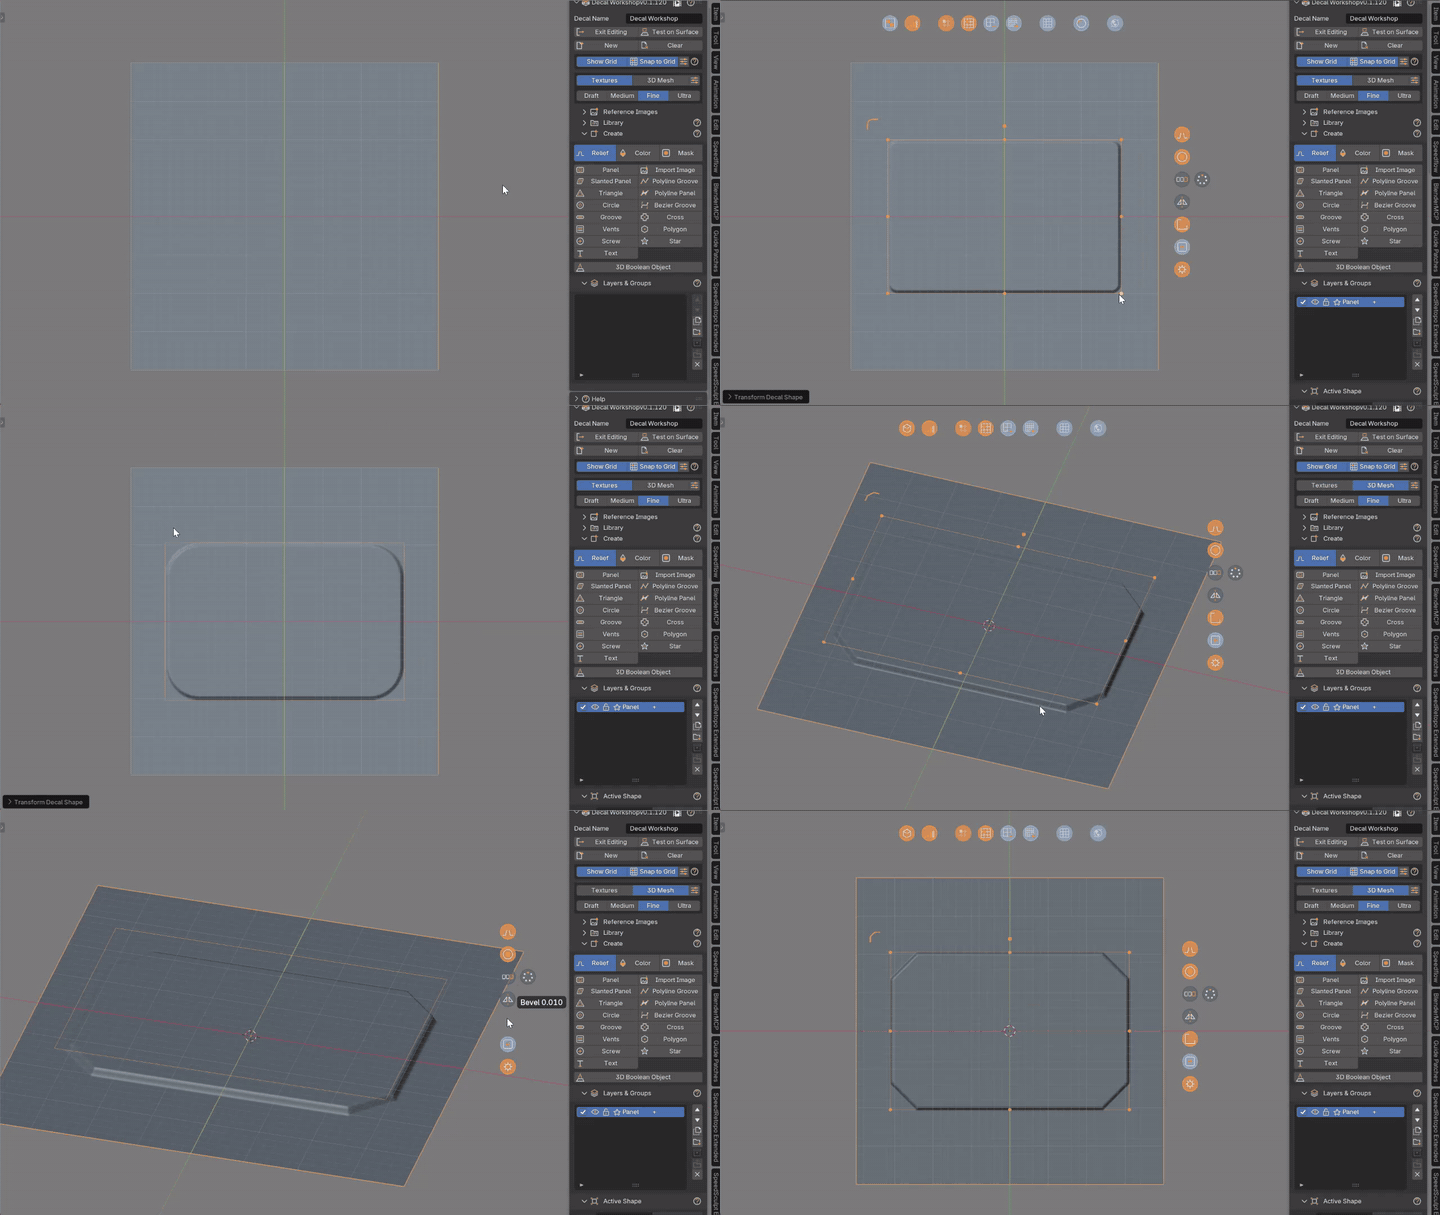
Build a decal from panels, grooves, vents, screws, text, polylines and Bezier curves. Move, resize and tweak every layer at any time.
-
 See live relief

Orbit around the canvas and watch the height, normal and color maps update while you edit.
-
 Start from your mesh
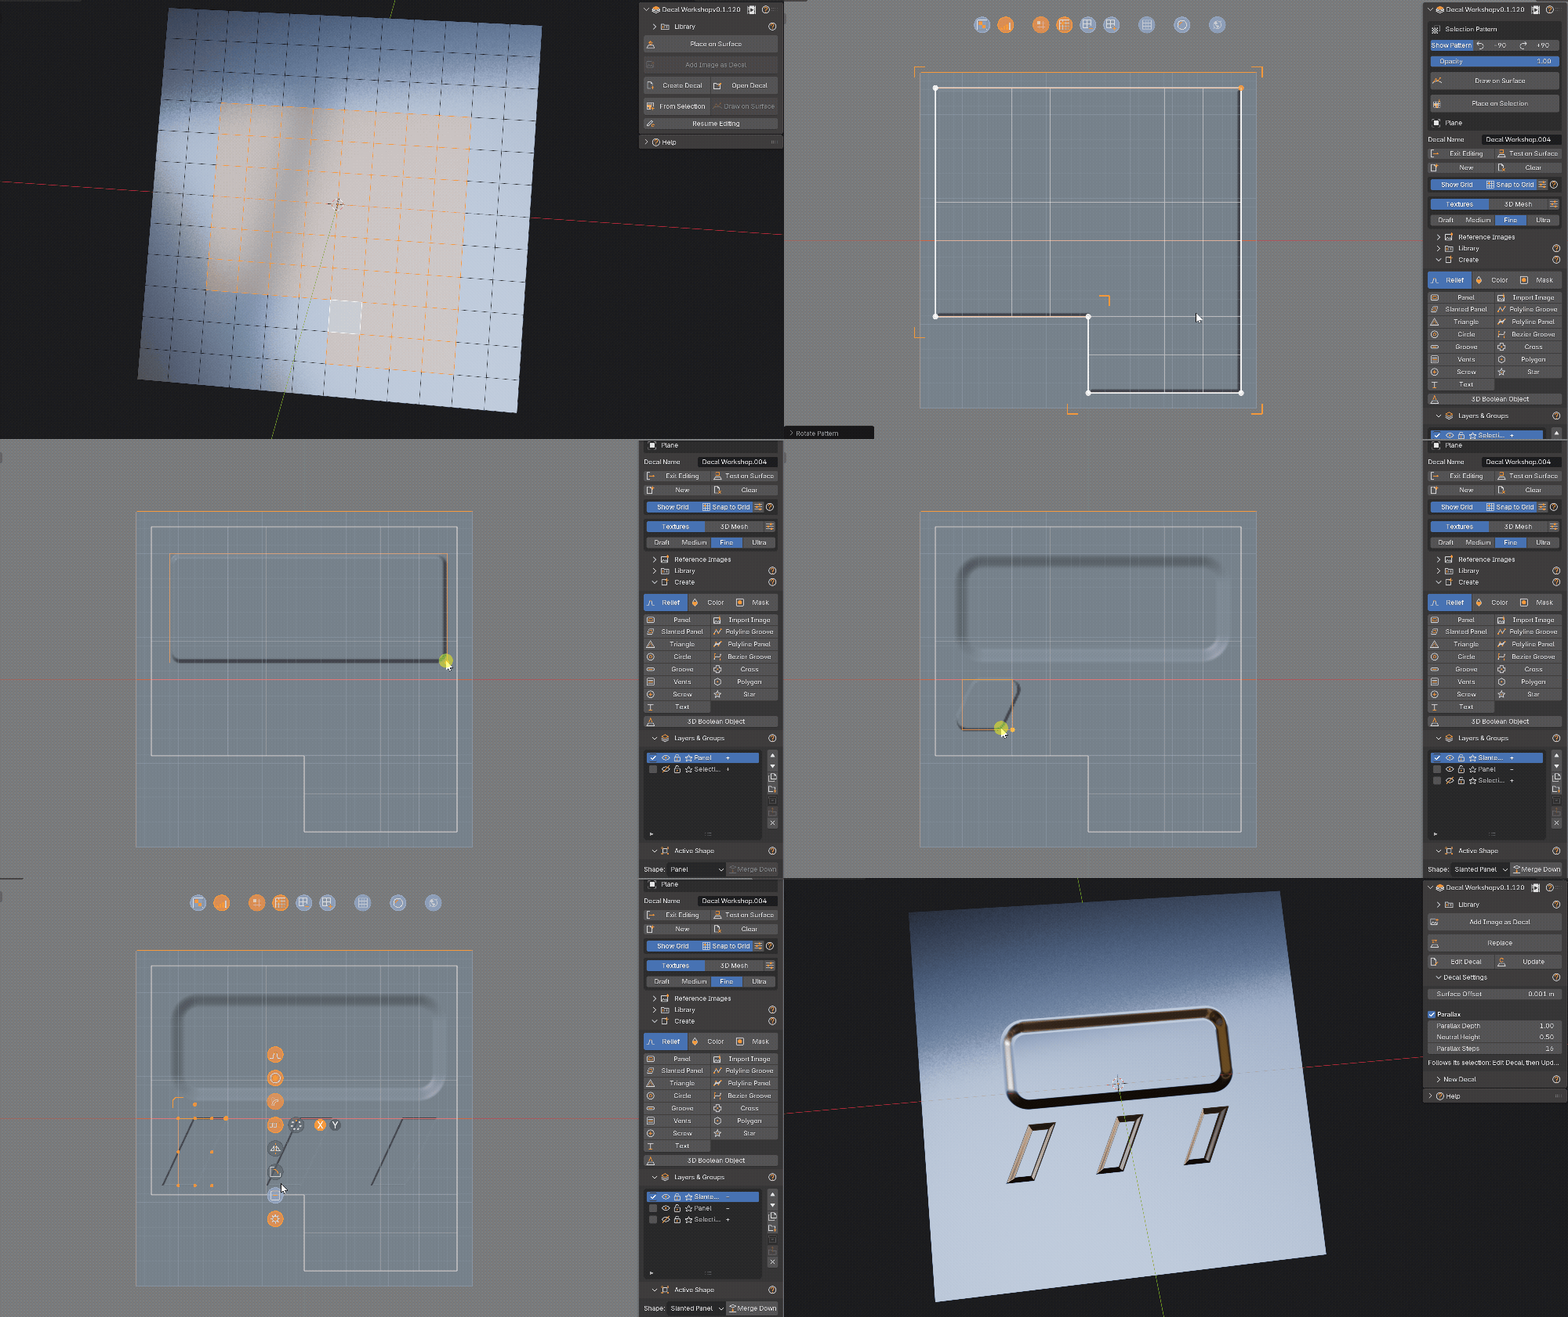
Turn selected faces or edges of a model into a decal canvas, or draw a path straight on a surface.
-
 Place on surfaces
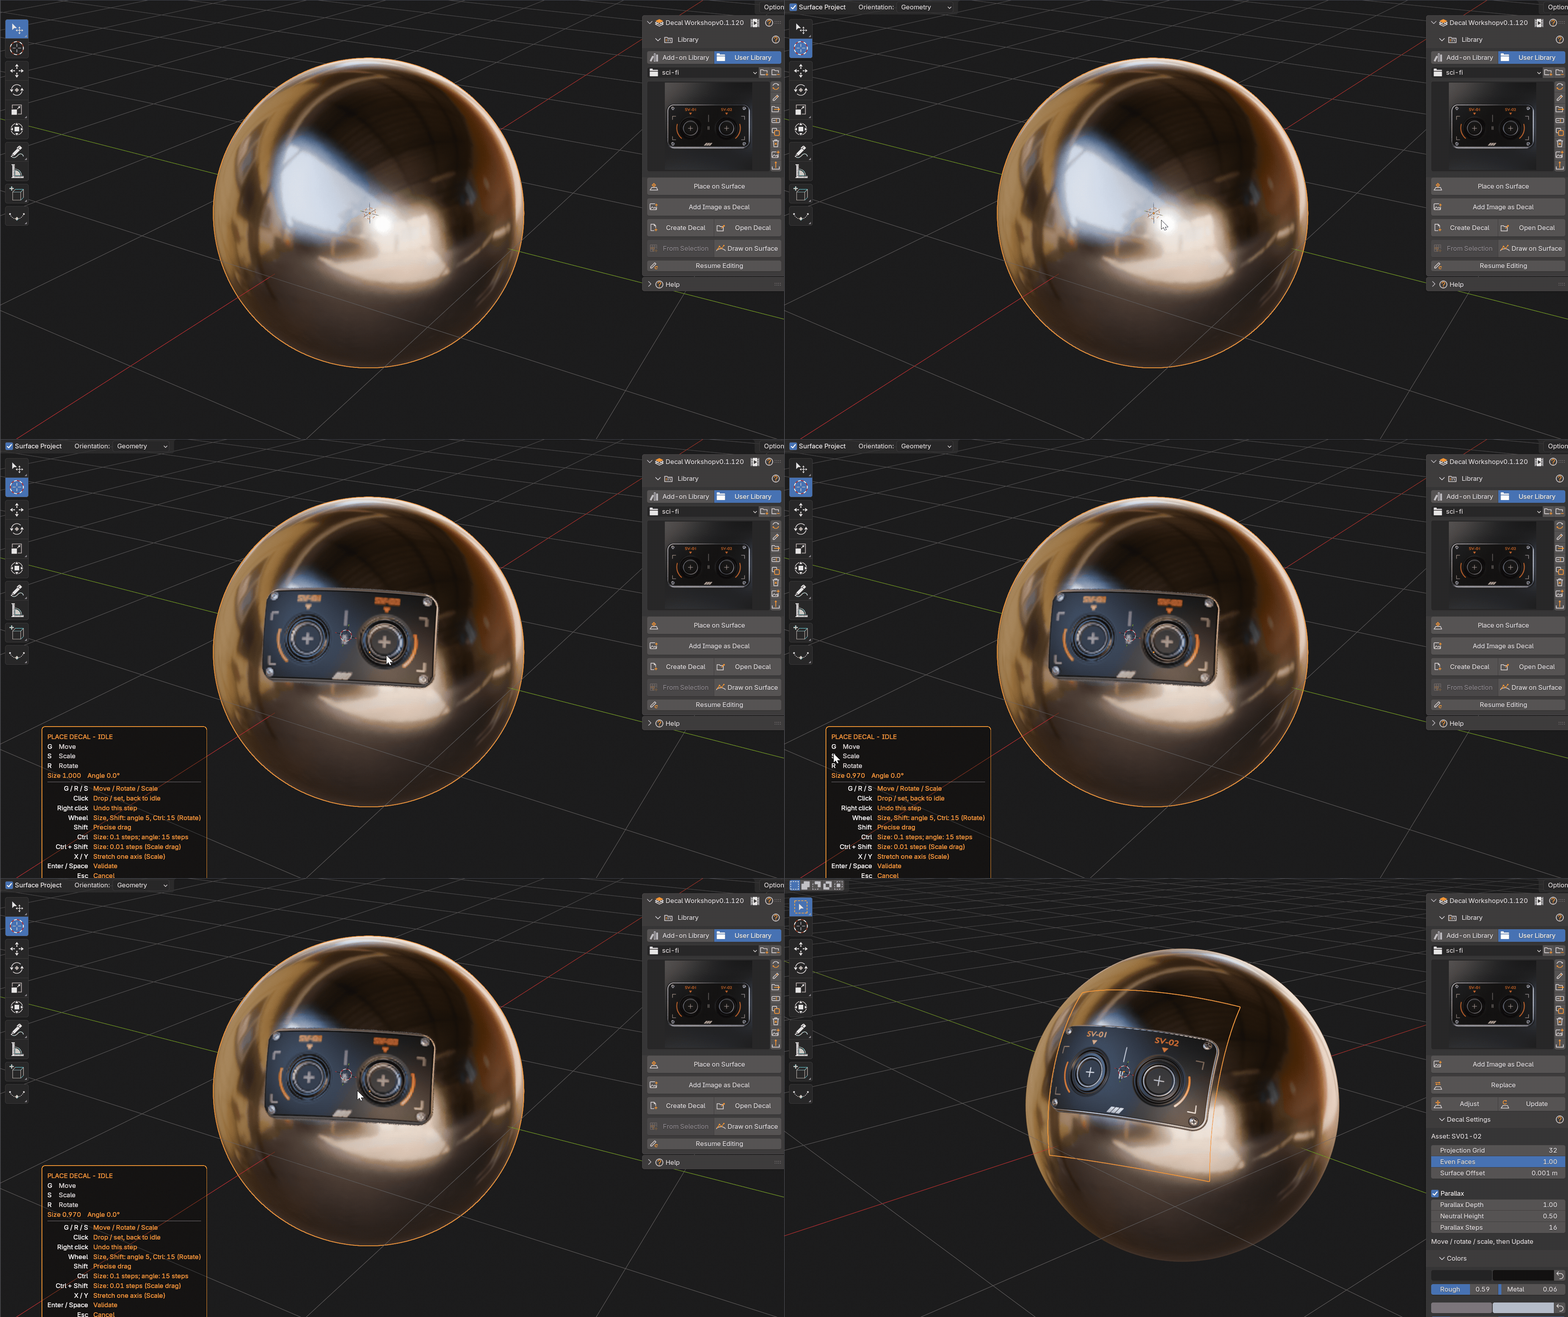
Project a decal onto any mesh, adjust it in place, update it later, and add seams where two meshes meet.
-
 Recolor placed decals
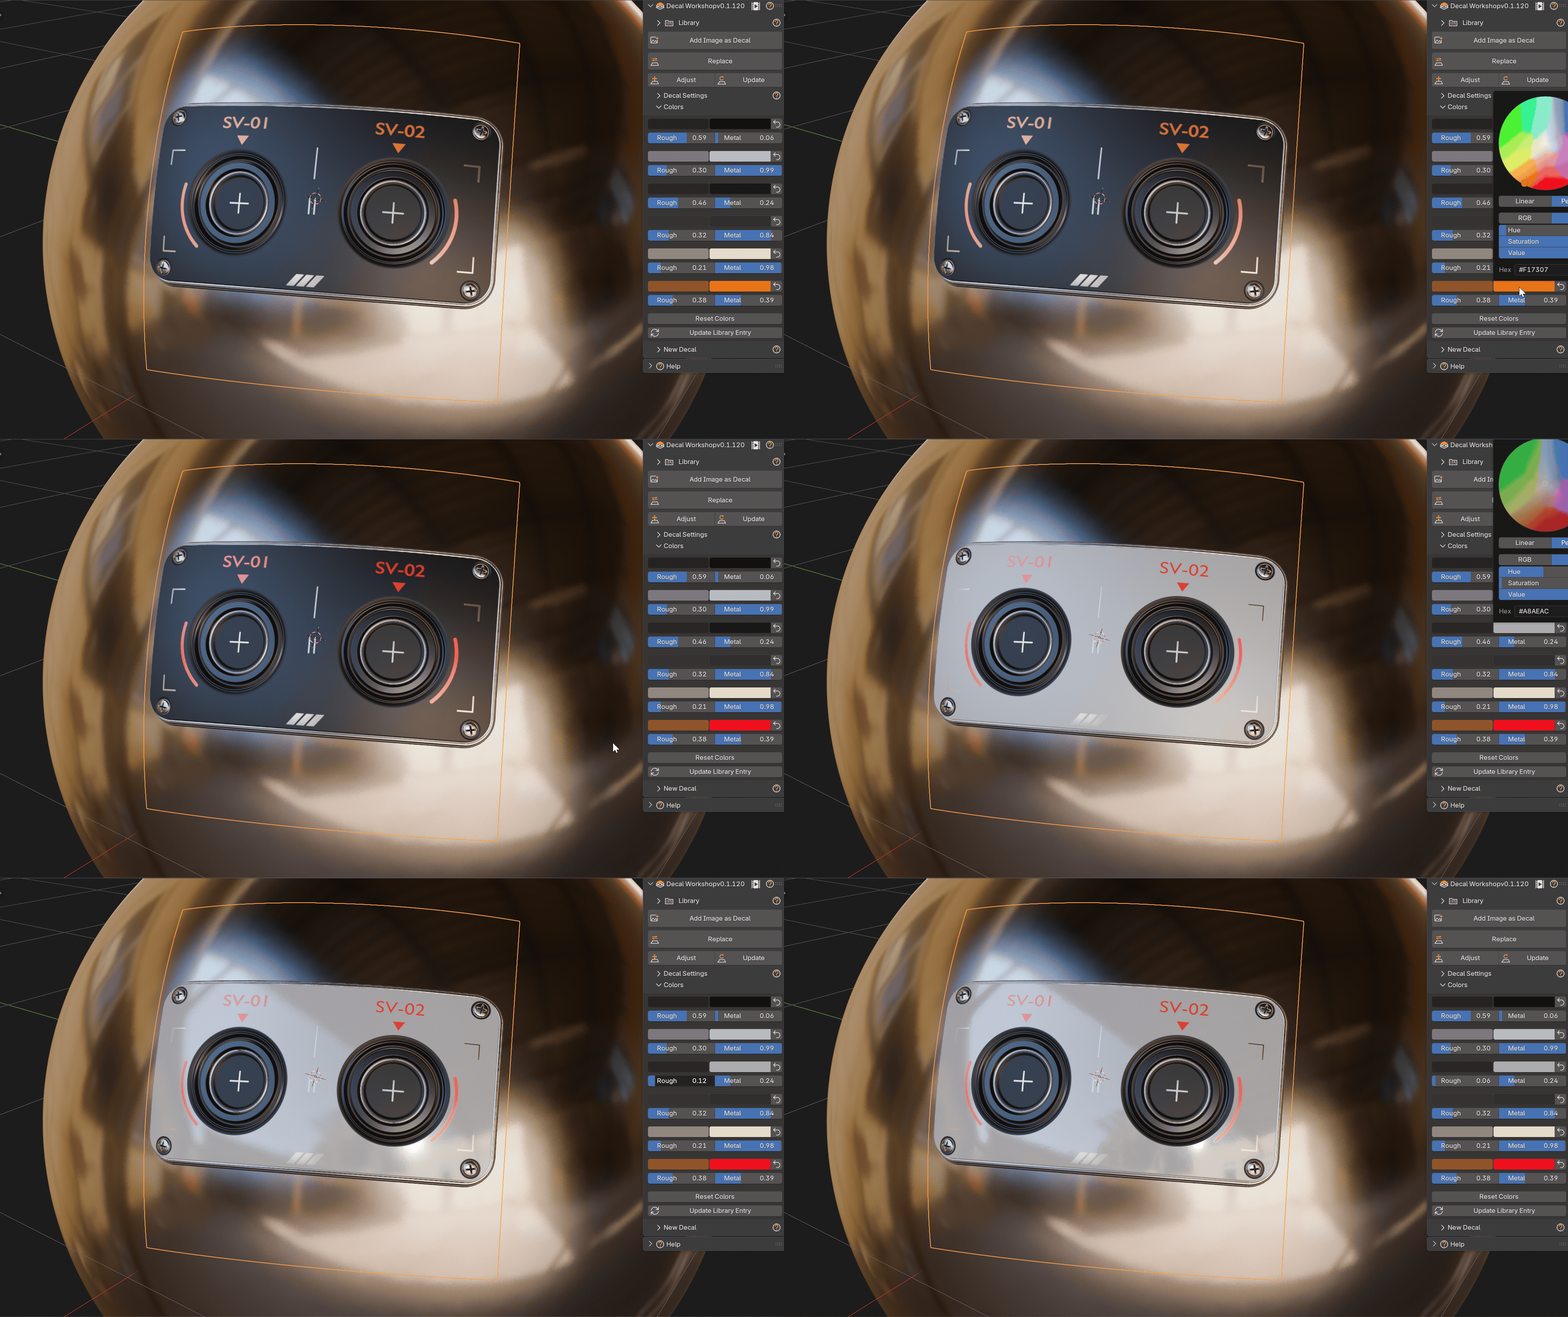
Change colors, roughness, metallic and emission on a placed decal, and send the result back to your library.
-
 Edit with layers, groups and modifiers
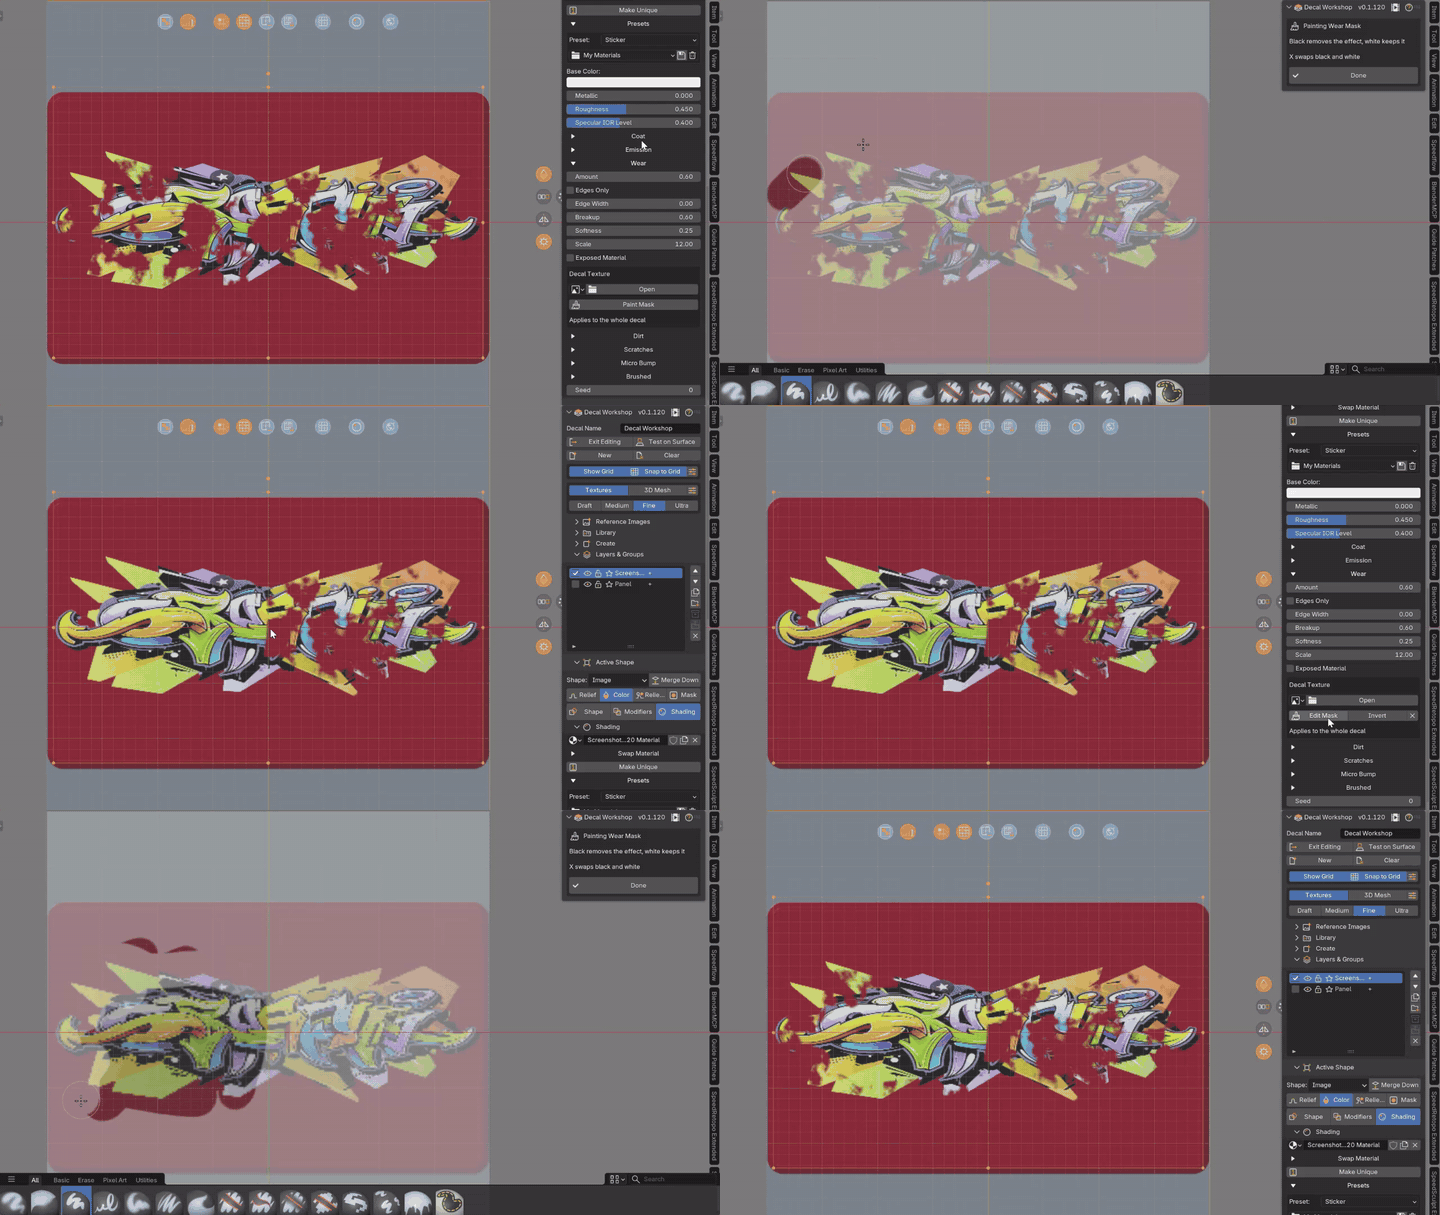
Stack layers, group them, repeat them with mirrors and arrays, shape the relief, and give every layer its own material, wear and dirt.
-
 Keep a library
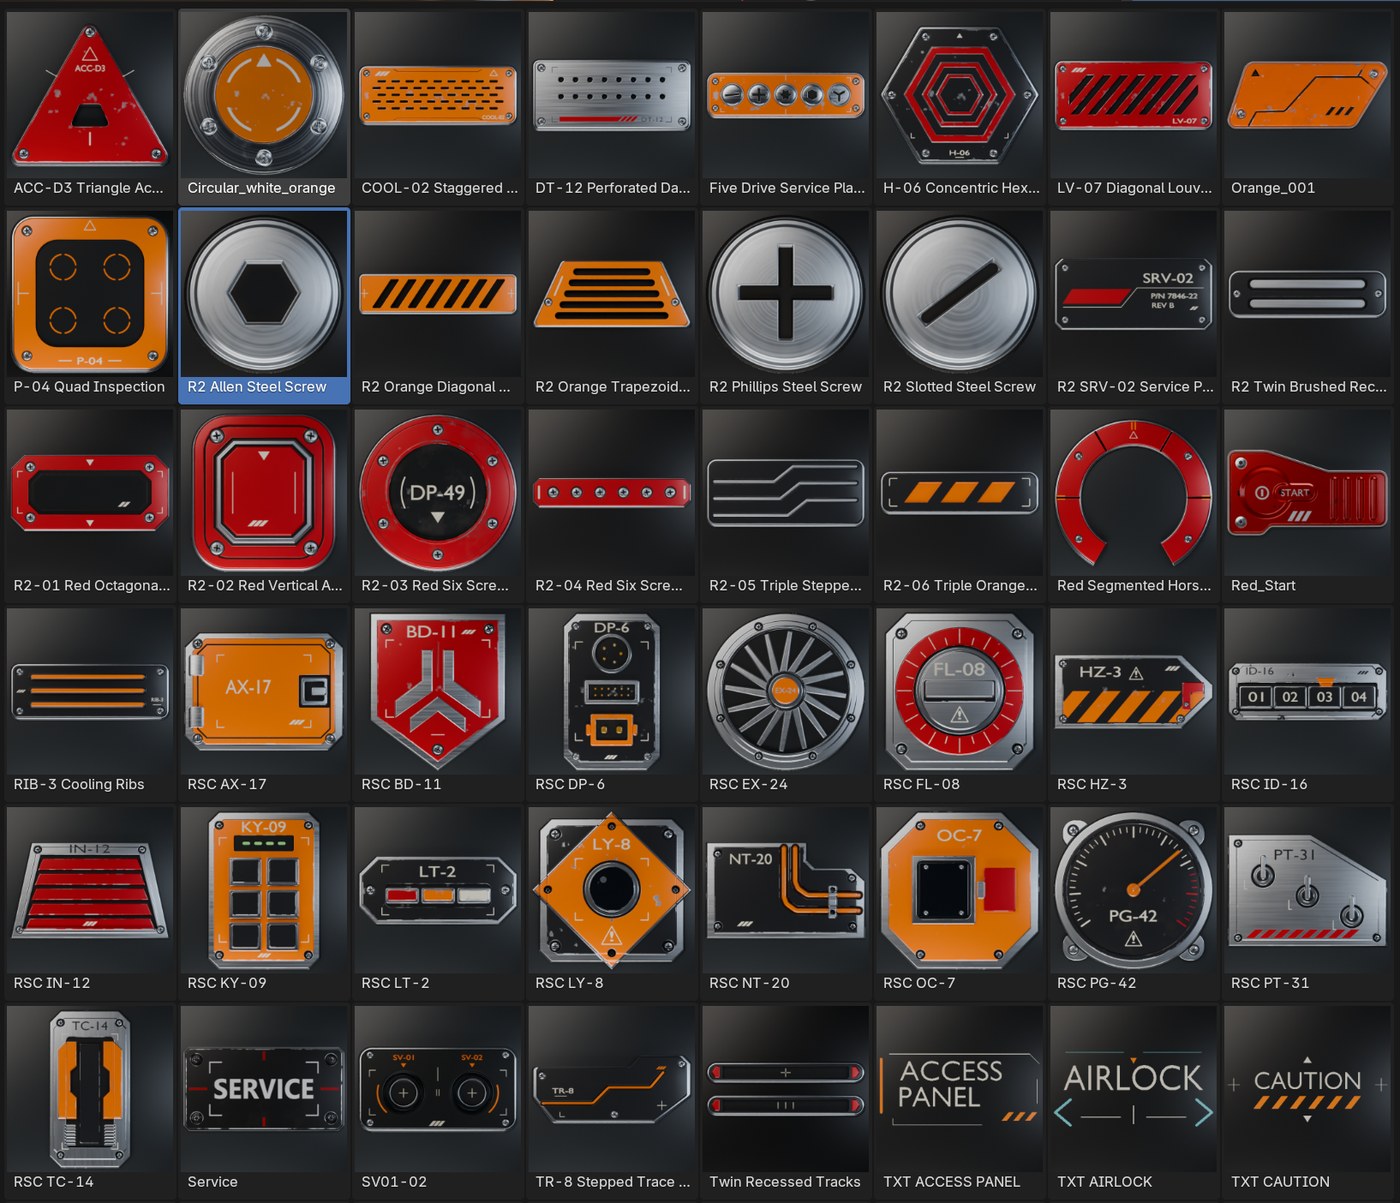
Save your decals as library entries with thumbnails, organize them in folders, and place or edit them again at any time.
-
 Export to other tools

Export a whole library as PBR textures, DECALmachine assets or texture atlases.
Create. Place. Keep control.
Where to start
Prefer video? Watch the tutorials. For the full list of tools, see All Features.