Reference Images and Workshop Light
Two helpers make drawing and judging a decal easier: a reference image under the grid to trace from, and a workshop light to read the relief.
Reference images
A reference image is a picture shown on the grid behind the decal. Use it to trace a logo, a sketch or a photo of a part.
Viewport only
A reference image is a drawing guide. It is never exported, never saved into the decal maps and never placed with the decal.
How to add a reference image
- In the editing panel, open the Reference Images section.
- Click the open button of the image field and pick a file, or click the paste button to use the image in your clipboard (a screenshot or a copied picture).
- Adjust it with the sliders.
The paste button replaces the current reference. An image file copied in your file explorer is read from its path.
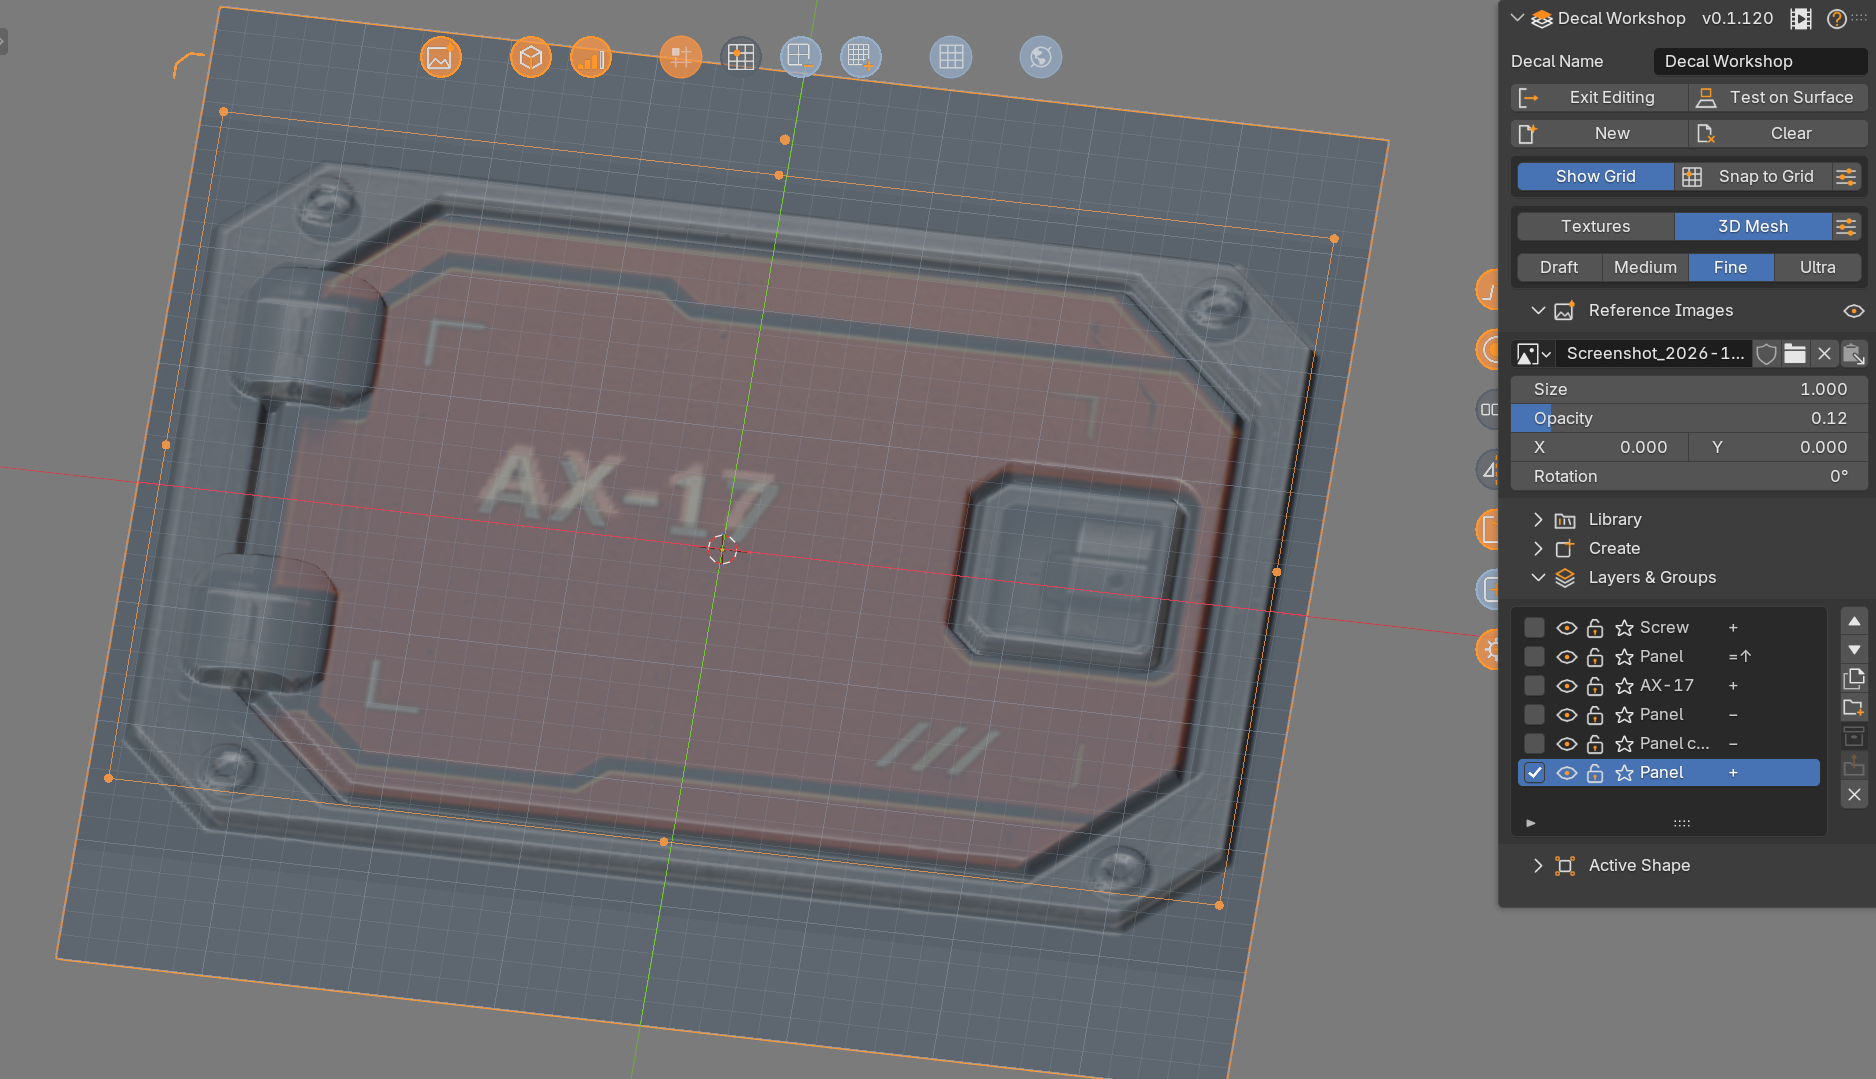
Adjusting it
| Setting | Effect |
|---|---|
 Eye (section header) |
Shows or hides the image without removing it |
| Size | Image width, in decal widths. The height follows the image aspect |
| Opacity | Opacity of the image. 0.5 by default |
| X / Y | Position of the image center |
| Rotation | Rotation around its center |
The image keeps its original brightness.
Reference button in the viewport
Once an image is loaded, a reference button appears in the viewport. It adjusts the image without opening the panel:
| Input | Action |
|---|---|
| Click | Show or hide the image |
| Drag horizontally | Size |
| Drag vertically | Opacity |
| Shift + drag | Move |
| Ctrl + drag | Rotate |
| Ctrl + click | Rotate by 90 degrees |
| Ctrl+Shift + click | Reset size, opacity, position and rotation |
| Esc | Cancel the current drag |
One image at a time
A decal holds a single reference image. Pasting or opening another one replaces it.
Workshop light
The workshop light is a sun that you place and tune while editing, to read the relief the way it will look in your scene. It exists only while you edit.
Turn it on
Click the sun button in the floating bar at the top of the viewport. Click again to remove the light.
| Input on the sun button | Action |
|---|---|
| Click | Adds or removes the sun |
| Drag | Changes the strength: right or up = stronger. The strength doubles every 150 pixels of drag |
| Esc or right click during a drag | Cancels: the previous strength and on/off state come back |
| Shift + click | Opens the sun options popup (Color, Strength, Exposure, Softness) |
The light is visible in Material Preview and Rendered shading.
The Light section
While the light is on, a Light box appears in the preview area of the panel.
| Option | Default | Effect |
|---|---|---|
| Strength | 4 | Power of the sun |
| Exposure | 0 | Scales the power by 2 to the power of this value |
| Color | White | Color of the sun |
| Softness | 3 degrees | Angular size of the sun. Larger values soften the shadows |
| Azimuth | 135 degrees | Direction of the light around the decal |
| Elevation | 45 degrees | Height of the light above the decal |
The sun gizmo
In Material Preview and Rendered shading, a small sun appears over the decal. It is hidden in Solid shading.
| Input | Action |
|---|---|
| Drag | Moves the sun over the decal: azimuth and distance |
| Shift + drag vertically | Changes the elevation |
| Shift + drag horizontally | Changes the strength |
| Esc | Cancels the current drag |
Tip
Ctrl works the same way as Shift on the sun gizmo.
Viewport lighting
A separate button in the viewport bar controls the lighting of the viewport itself (HDRI or studio light), not the workshop sun:
| Input | Action |
|---|---|
| Click | Next HDRI or studio light |
| Shift + click | Previous one |
| Drag horizontally | Rotates the lighting |
| Drag vertically | Lighting strength, in Material Preview and Rendered |
Combine them
Use a low sun elevation to make small grooves and bevels stand out, then check them under the studio lighting.