Installation
This page shows how to install Decal Workshop in Blender and find its panel.
Requirements
Blender 4.2 or newer is required. Some options need a recent Blender, for example the Exact Solver of junctions requires Blender 4.5 or newer.
How to install
- Download the add-on
.zipfile from your purchase page. Do not unzip it. - In Blender, open Edit > Preferences > Add-ons.
- Click the small arrow menu in the top right and choose Install from Disk (or the Install from Disk button, depending on your Blender version).
- Select the
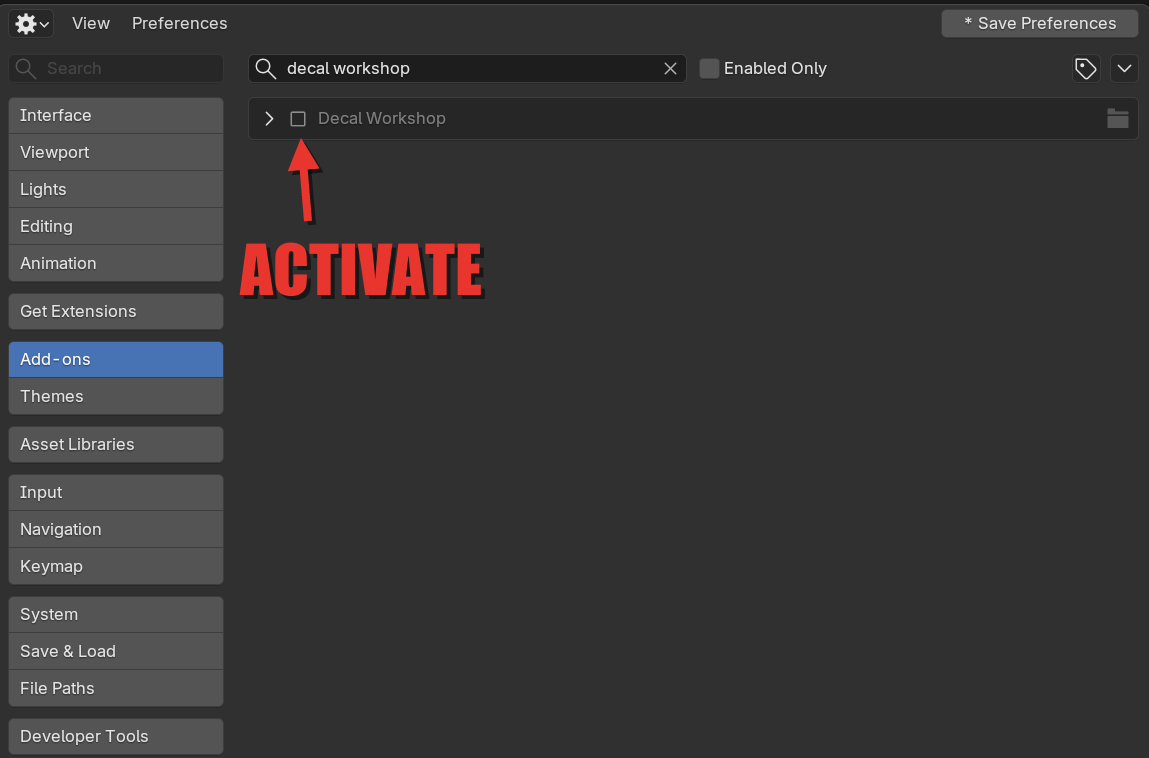
.zipfile. - Tick the checkbox next to Decal Workshop to enable it.
How to find the panel
- Hover the mouse over the 3D Viewport.
- Press N to open the sidebar.
- Click the Decal Workshop tab.
 The panel is titled Decal Workshop and shows the add-on version in its header.

No tab?
Make sure the add-on is ticked in Preferences, and that the mouse is over the 3D Viewport when you press N.
How to update
When a newer version is available, the version number in the panel header turns red and shows the new version.
- Save your work.
- In Preferences > Add-ons, disable and remove the old version.
- Restart Blender.
- Install the new
.zipas above.
Restart Blender
Restarting between removing the old version and installing the new one avoids conflicts between old and new code.
Check that it works
- Open the Decal Workshop tab as described above.
- Click
 Create Decal.
- If a canvas opens and the sidebar shows the editing panels, the add-on is working.
- Click Exit Editing to go back to your scene.
Your scene stays safe
Decal Workshop edits in a dedicated scene, so trying it out does not change your original scene.
Related help
- The small help button in the panel header opens the add-on help.
- The film icon next to it plays the presentation video.