Create Decal and the Canvas
 Create Decal opens the canvas: a flat drawing plane where you build a decal from editable layers while a live 3D relief updates beside you.
How to start a decal
- In Object Mode, open the Decal Workshop tab.
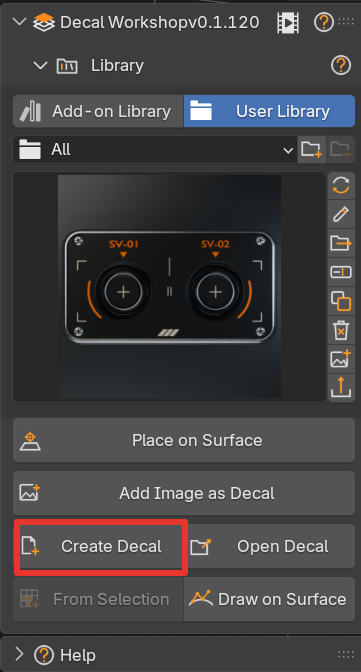
- Click Create Decal.
Decal Workshop creates a dedicated scene for editing. Your original scene stays intact, and Exit Editing brings you back to it.
Next to Create Decal you also find:
| Button | Use it to |
|---|---|
 Open Decal |
Open an existing decal for editing |
 From Selection |
Start from faces or edges of a mesh, see Decal from Selection |
 Draw on Surface |
Start from a path drawn on a mesh, see Draw on Surface |
 Resume Editing |
Return to an editing session still stored in the file |
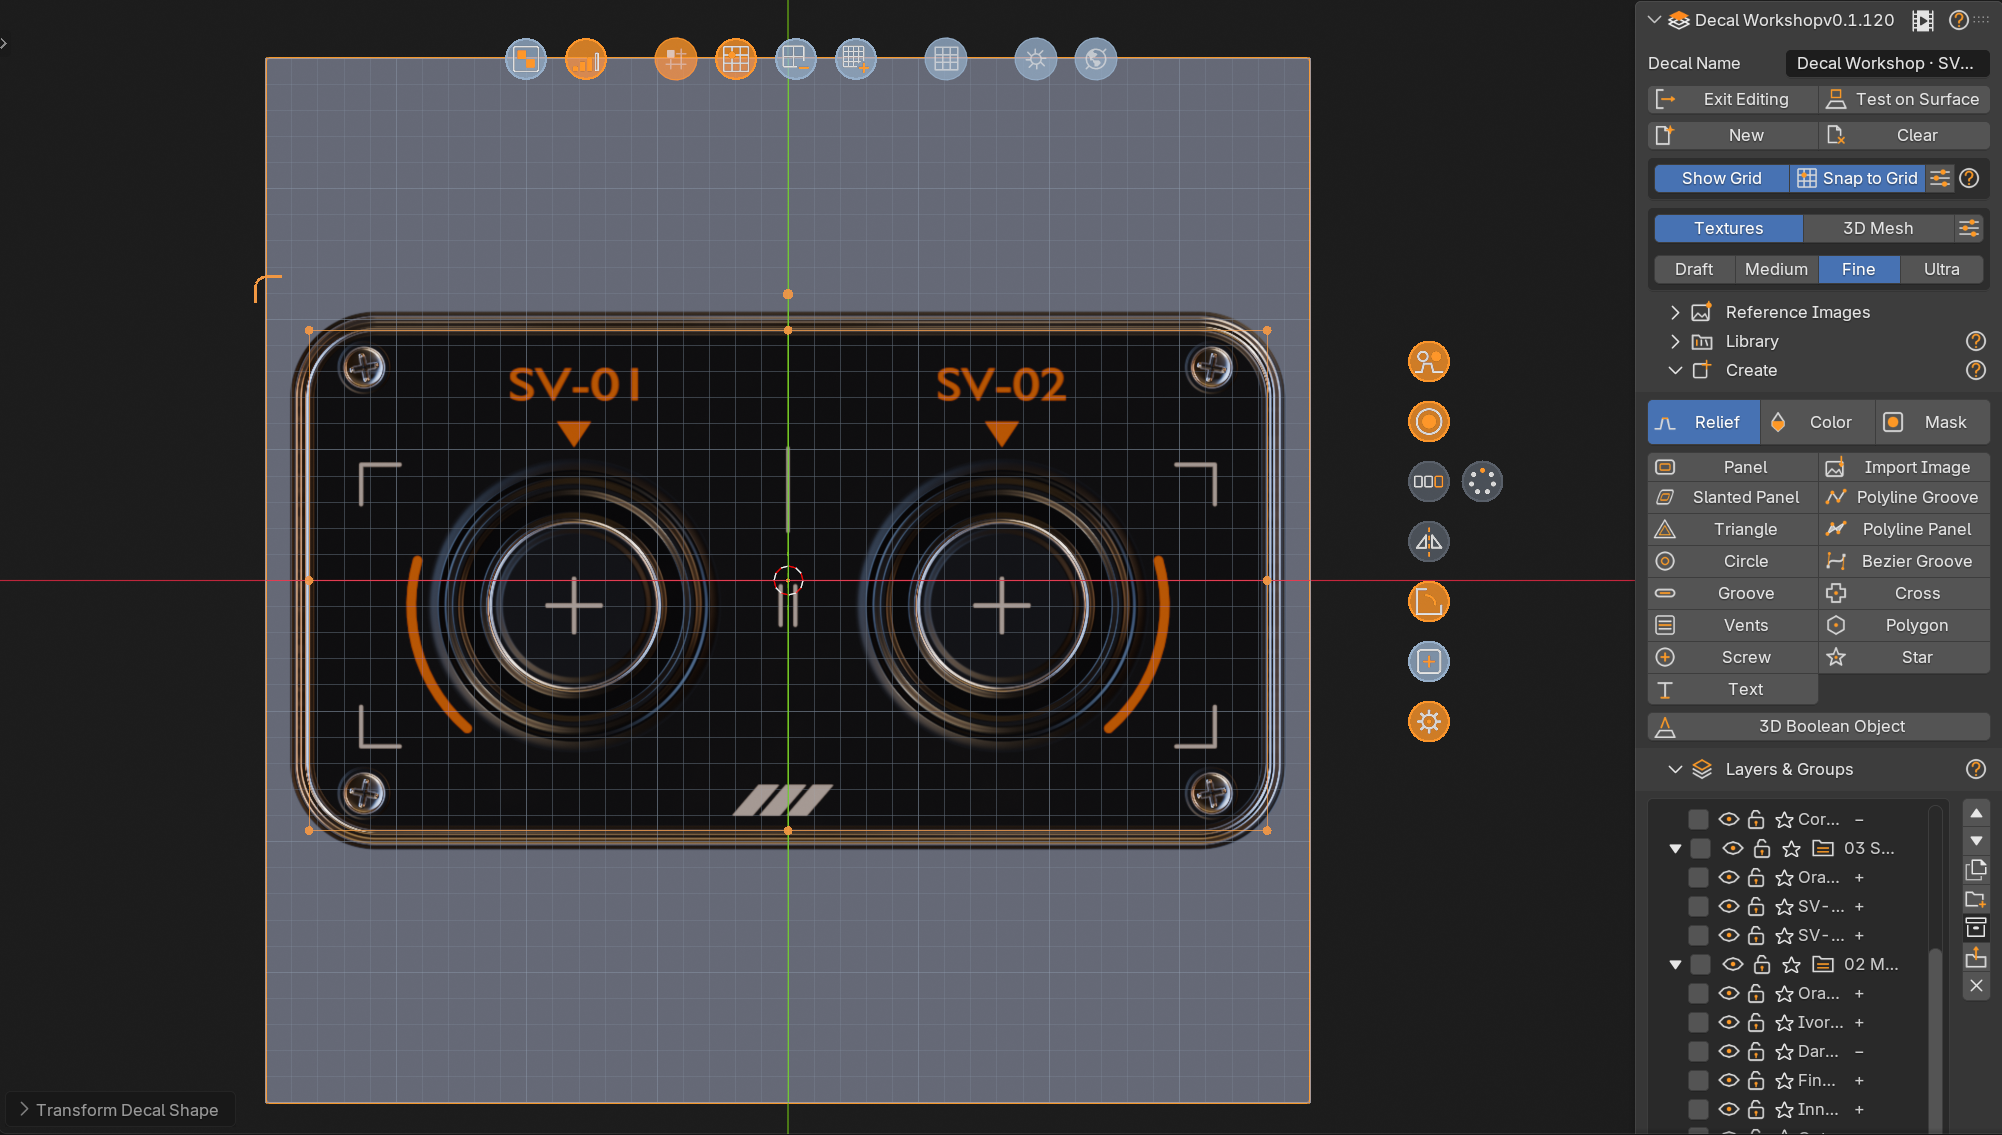
The editing view
In editing mode the panel shows session controls at the top:
| Button | What it does |
|---|---|
| Decal Name | Name of the decal scene |
 Exit Editing |
Leave the canvas and restore your scene, view and selection |
 Test on Surface |
Preview the current decal on a mesh |
| New | Start a separate project and keep the previous one |
| Clear | Empty the current construction (asks for confirmation, supports Undo) |
Come back later
After Exit Editing, use Resume Editing to return to the same project.
How to look at your decal
- Face View returns the camera to the drawing plane, straight on.
- Orbit normally to inspect the live relief.
- The preview box offers a preview mode and a quality level. Use a lower quality while you draw and a higher one to check details.
- The Workshop light (sun button in the floating viewport bar) helps you read the relief. Drag the button to change its strength.
Grid and snapping
The grid row has Show Grid, Snap and Options.
- The grid is always centered on the canvas. The minus and plus buttons halve or double its spacing.
- Hold Ctrl to toggle snapping temporarily. Hold Shift to bypass it.
- Drawing, moving and point editing all follow the grid.
Layer types: Relief, Color, Mask
In the Create section, three buttons choose what the next shape you draw does:
| Type | Effect |
|---|---|
 Relief |
Raises or cuts the surface (height) |
 Color |
Paints a color without changing the relief |
 Mask |
Uses the shape only as a mask for other layers |
With Color active, a color swatch appears next to the buttons.
Layers and the Active Shape
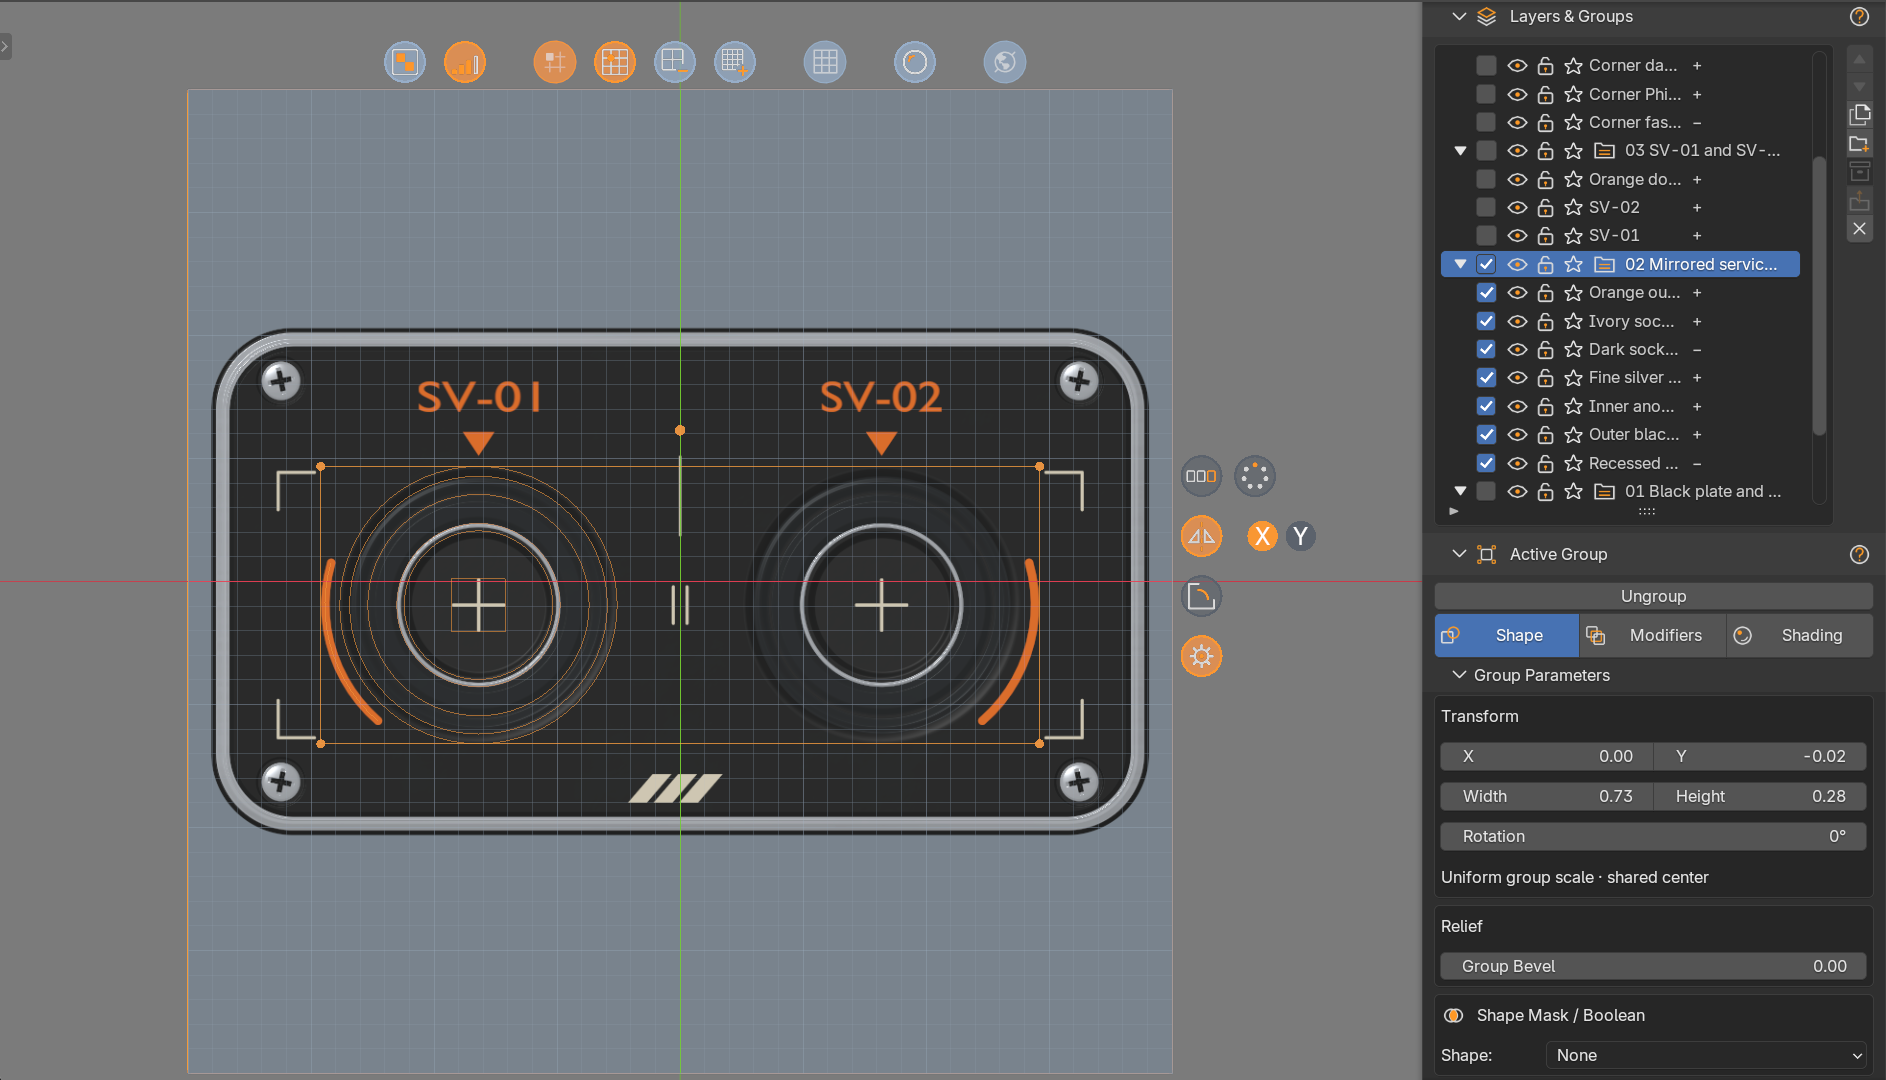
The Layers & Groups section lists every shape of the decal.
- Click a shape in the viewport or select its row in the list.
- Use the arrows to reorder layers, the duplicate button to copy them (or Ctrl+D), and the X button to delete.
- New shapes appear above the selected one.
- Select several shapes with Shift + click and group them with Ctrl+G.
The Active Shape section shows the selected layer in three tabs: Shape, Modifiers and Shading.
Moving, rotating and scaling
The Edit Shapes toolbar tool is activated automatically while you edit.
| Key | Action |
|---|---|
| G | Move the selected shape |
| R | Rotate |
| S | Scale |
| X / Y | Constrain to one axis |
| Ctrl | Snap to steps |
| Enter or click | Confirm |
| Esc or right click | Cancel the current manipulation |
Every completed manipulation has its own undo step.
Edit the object itself
Pick another Blender toolbar tool if you want to edit the support object instead of the decal shapes.