All Features
Every Decal Workshop feature in one page. Each entry says what it does and links to the full guide.
New to the add-on? Start with Your First Decal (5 min).
Build a decal from 2D layers
A canvas that stays editable
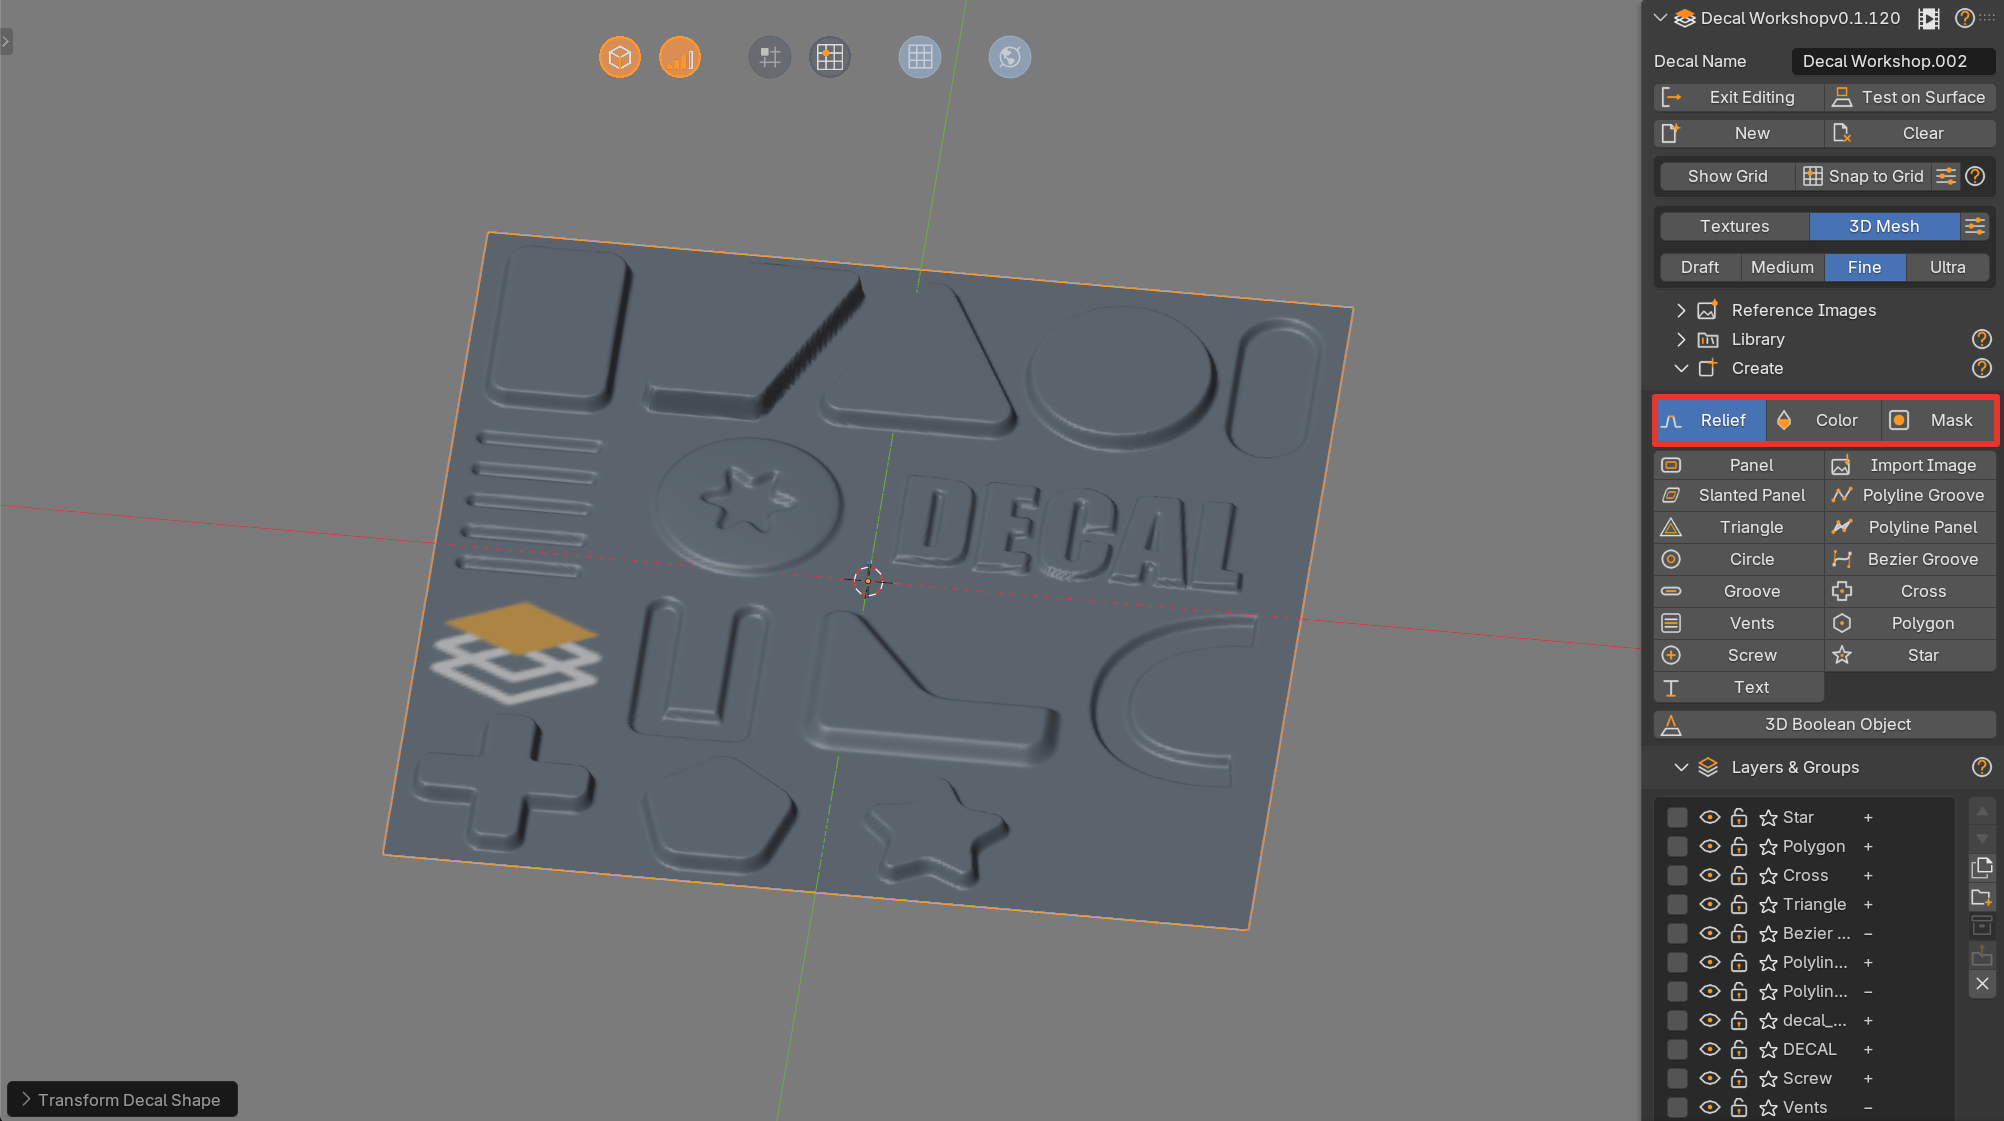
A decal is a stack of simple 2D layers on a flat canvas. Decal Workshop turns them into a height field, a normal map and a color map. Every layer stays editable at any time: move it, resize it, change its depth, delete it.
The editing happens in a dedicated scene, so your working scene is never touched. Orbit around the canvas to see the relief update live.

15 shape tools
Panel, Slanted Panel, Triangle, Circle, Groove, Vents, Screw, Text, Polyline Groove, Polyline Panel, Bezier Groove, Cross, Polygon, Star, and images. Draw them with a drag or a few clicks, then refine them with on-shape handles.

Relief, Color and Mask layers
Each layer adds or removes relief, paints color, or masks the layers below. Combine them to build panels, recesses, labels and stickers in one decal.
Precise transforms
Corner and side handles, rotation handle, G / R / S with axis locks, grid and snapping, corner types (round, chamfer…) with their radius. Each completed manipulation is its own undo step.

Layers and groups
Reorder layers, choose how each one combines with the layers below, group them, nest groups, and create linked duplicates that update together.

Modifiers
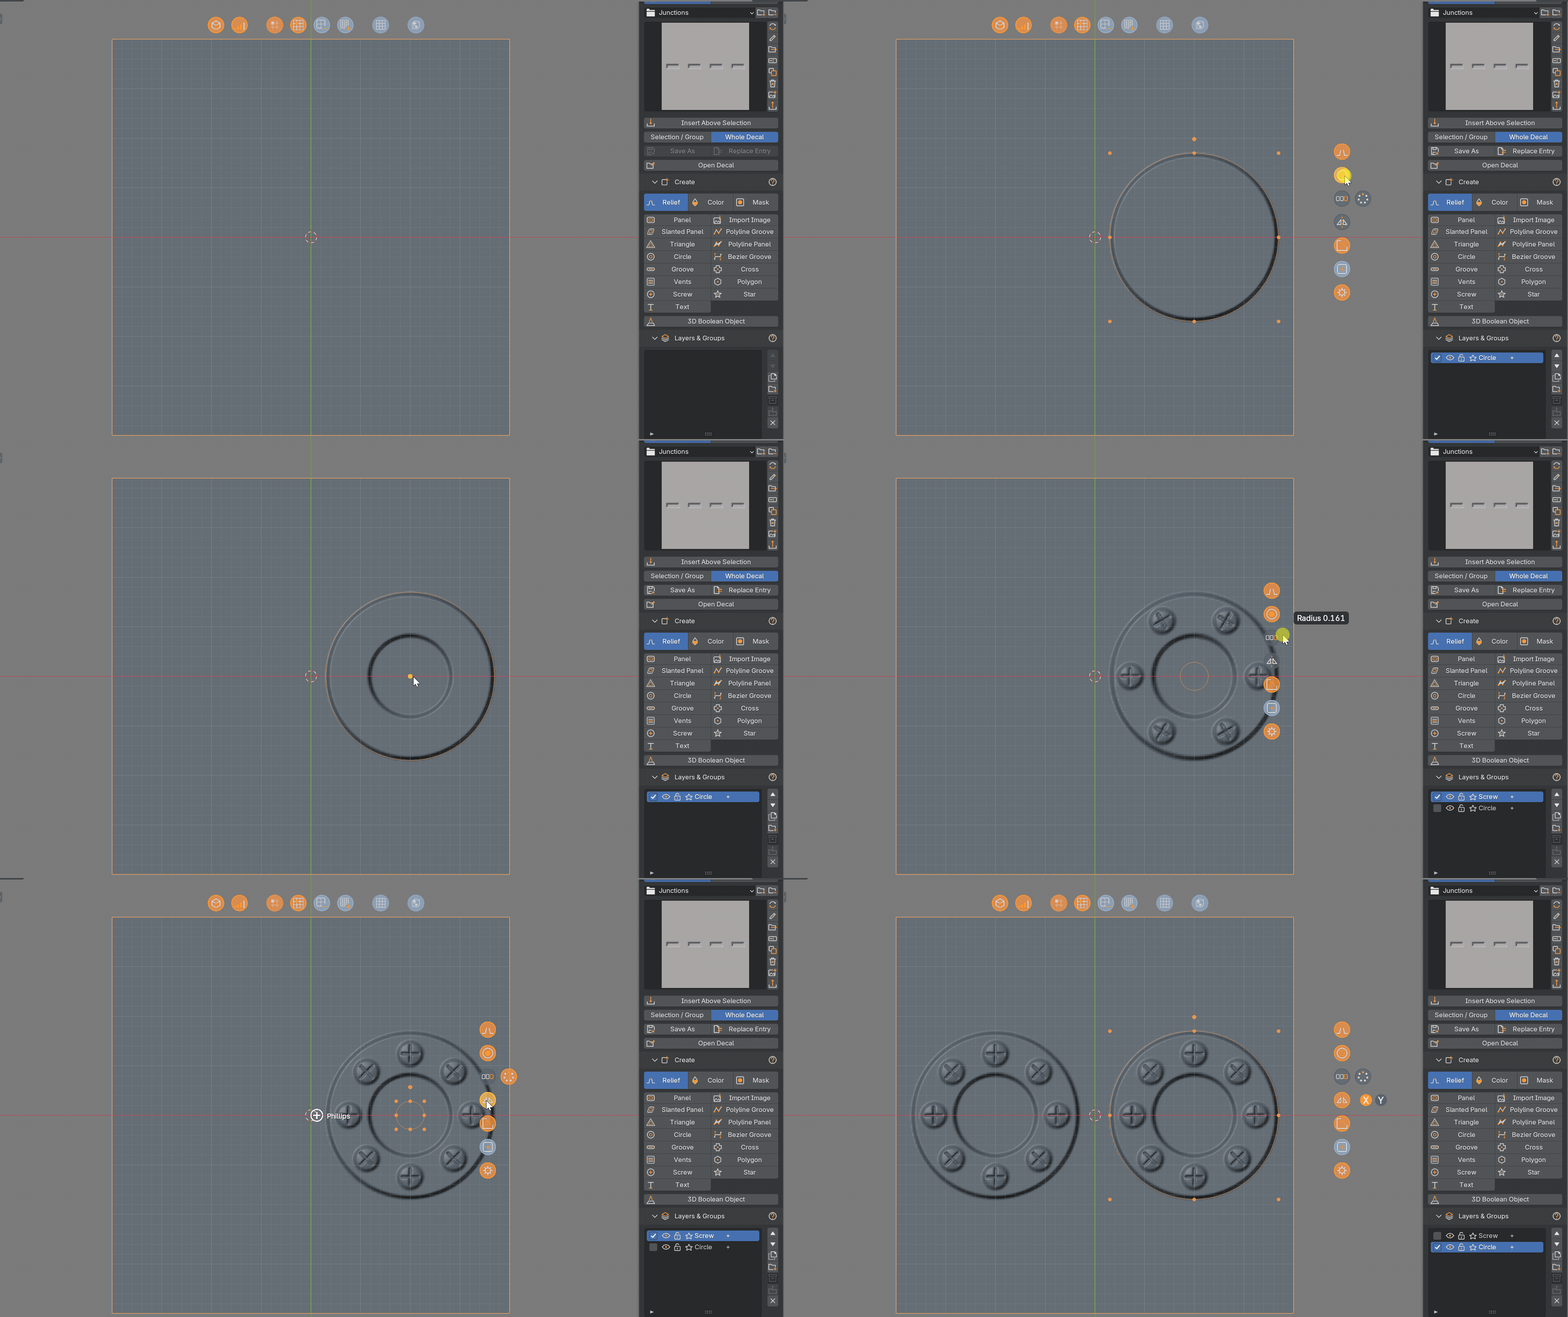
Mirror, Linear Array, Circular Array and Random Rotation on shapes and groups. Perfect for vents, bolt circles and symmetrical hatches, and still fully editable.
Relief and shading
Bevel profiles
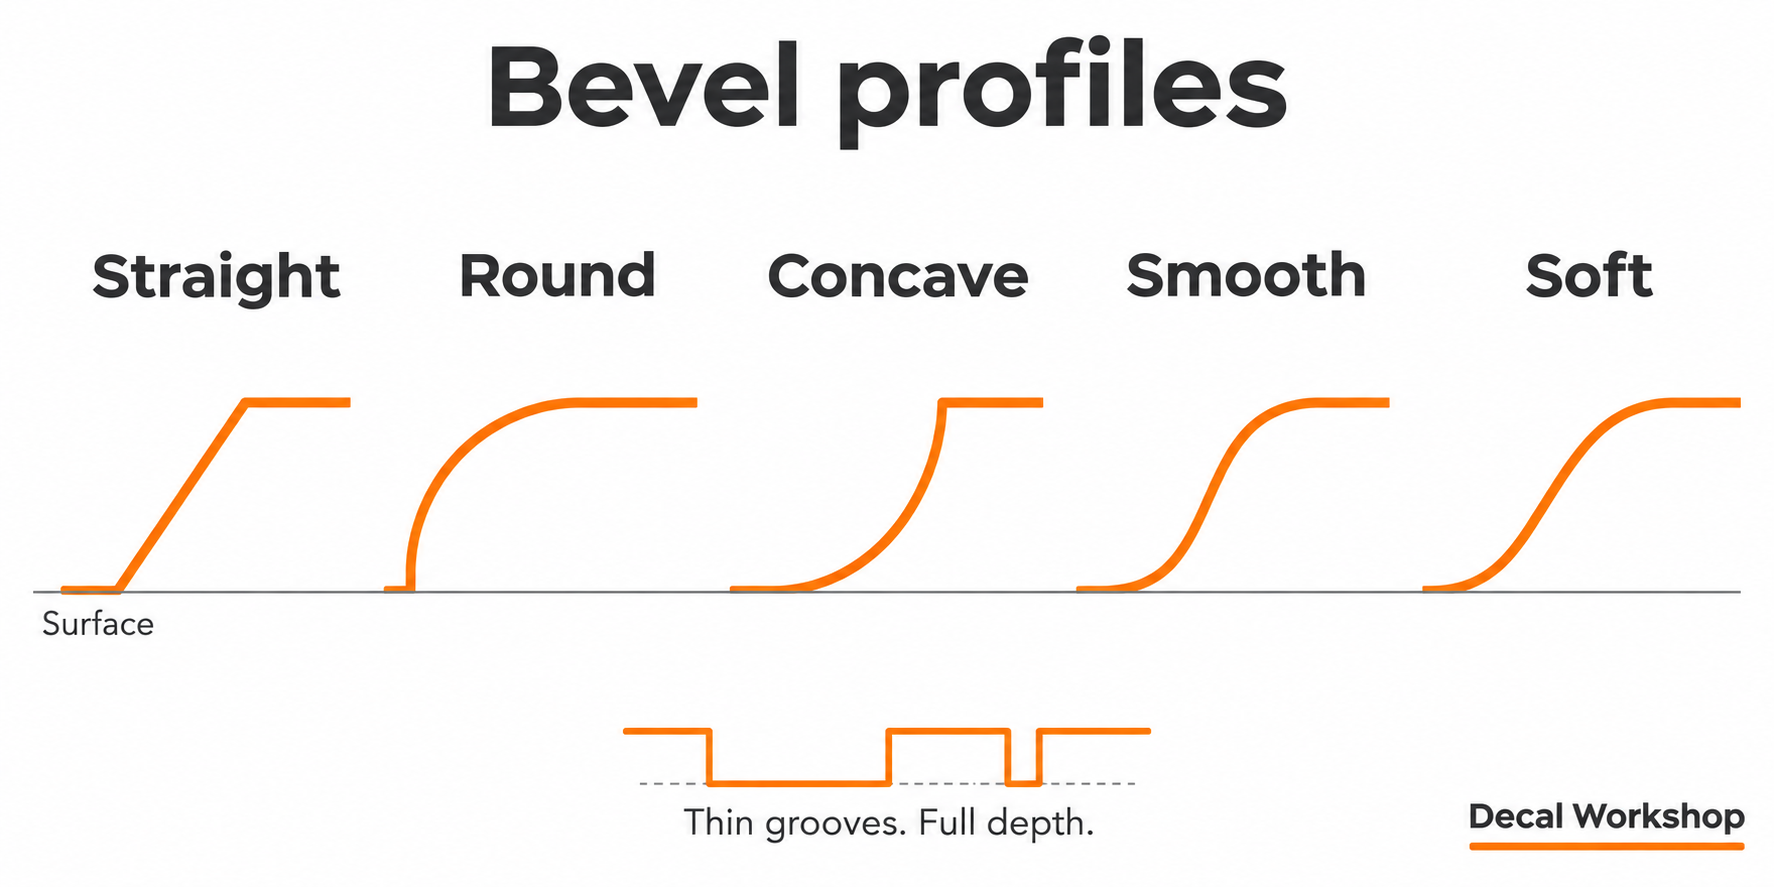
Five edge profiles: Straight, Round, Concave, Smooth and Soft. Thin grooves still reach their full depth.
Relief, Bevel Profiles and Quality
3D objects as relief sources
Use a mesh as a relief source: its shape becomes part of the decal's height field.

Materials and finishes
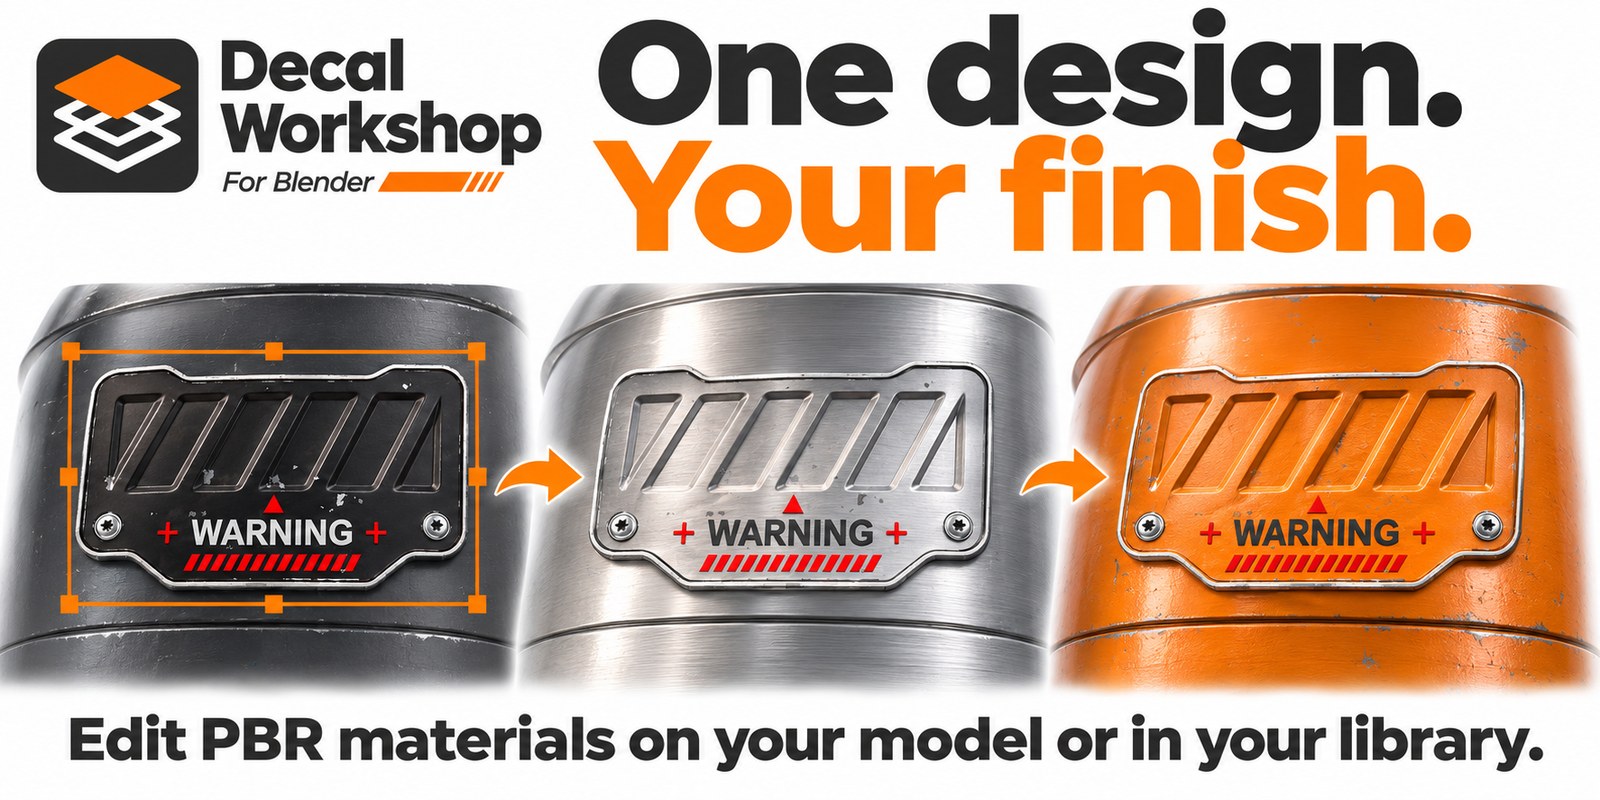
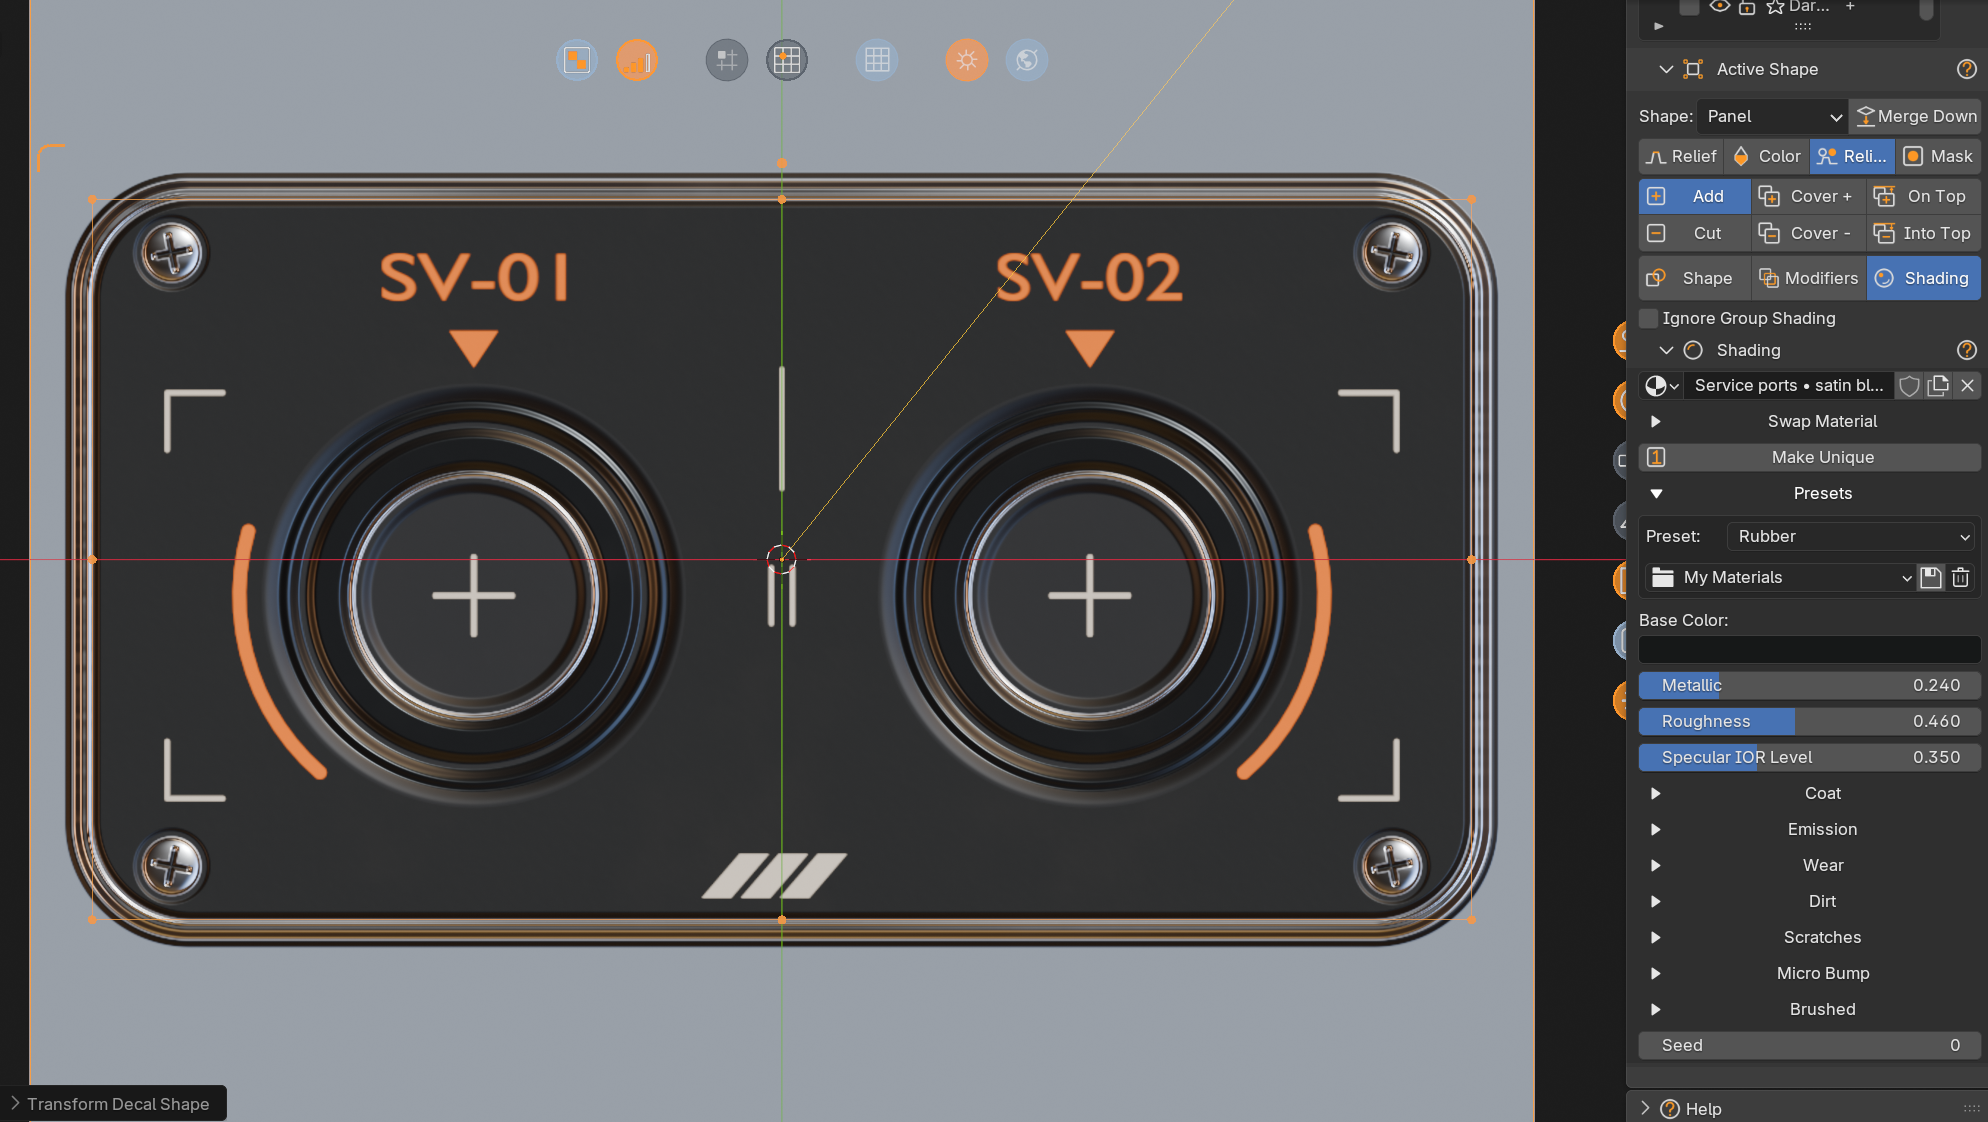
Every shape gets its own Principled material, and the decal is saved with full PBR maps (color, roughness, metallic, normal, height).
- 22 finish presets in one click: metals (Steel, Aluminium, Chrome, Gold, Copper, Brass, Titanium, Cast Iron, Brushed Metal), painted (Car Paint, Painted Metal, Chipped Paint, Edge Worn Paint) and more (Plastic, Rubber, Ceramic, Concrete, Fabric, Emissive, Varnished Wood, Sticker…).
- My Materials: save your own finishes and reuse them on any decal.
- Coat and Emission settings, group materials, and a separate outline material for frames and borders.
Wear, dirt and painted masks
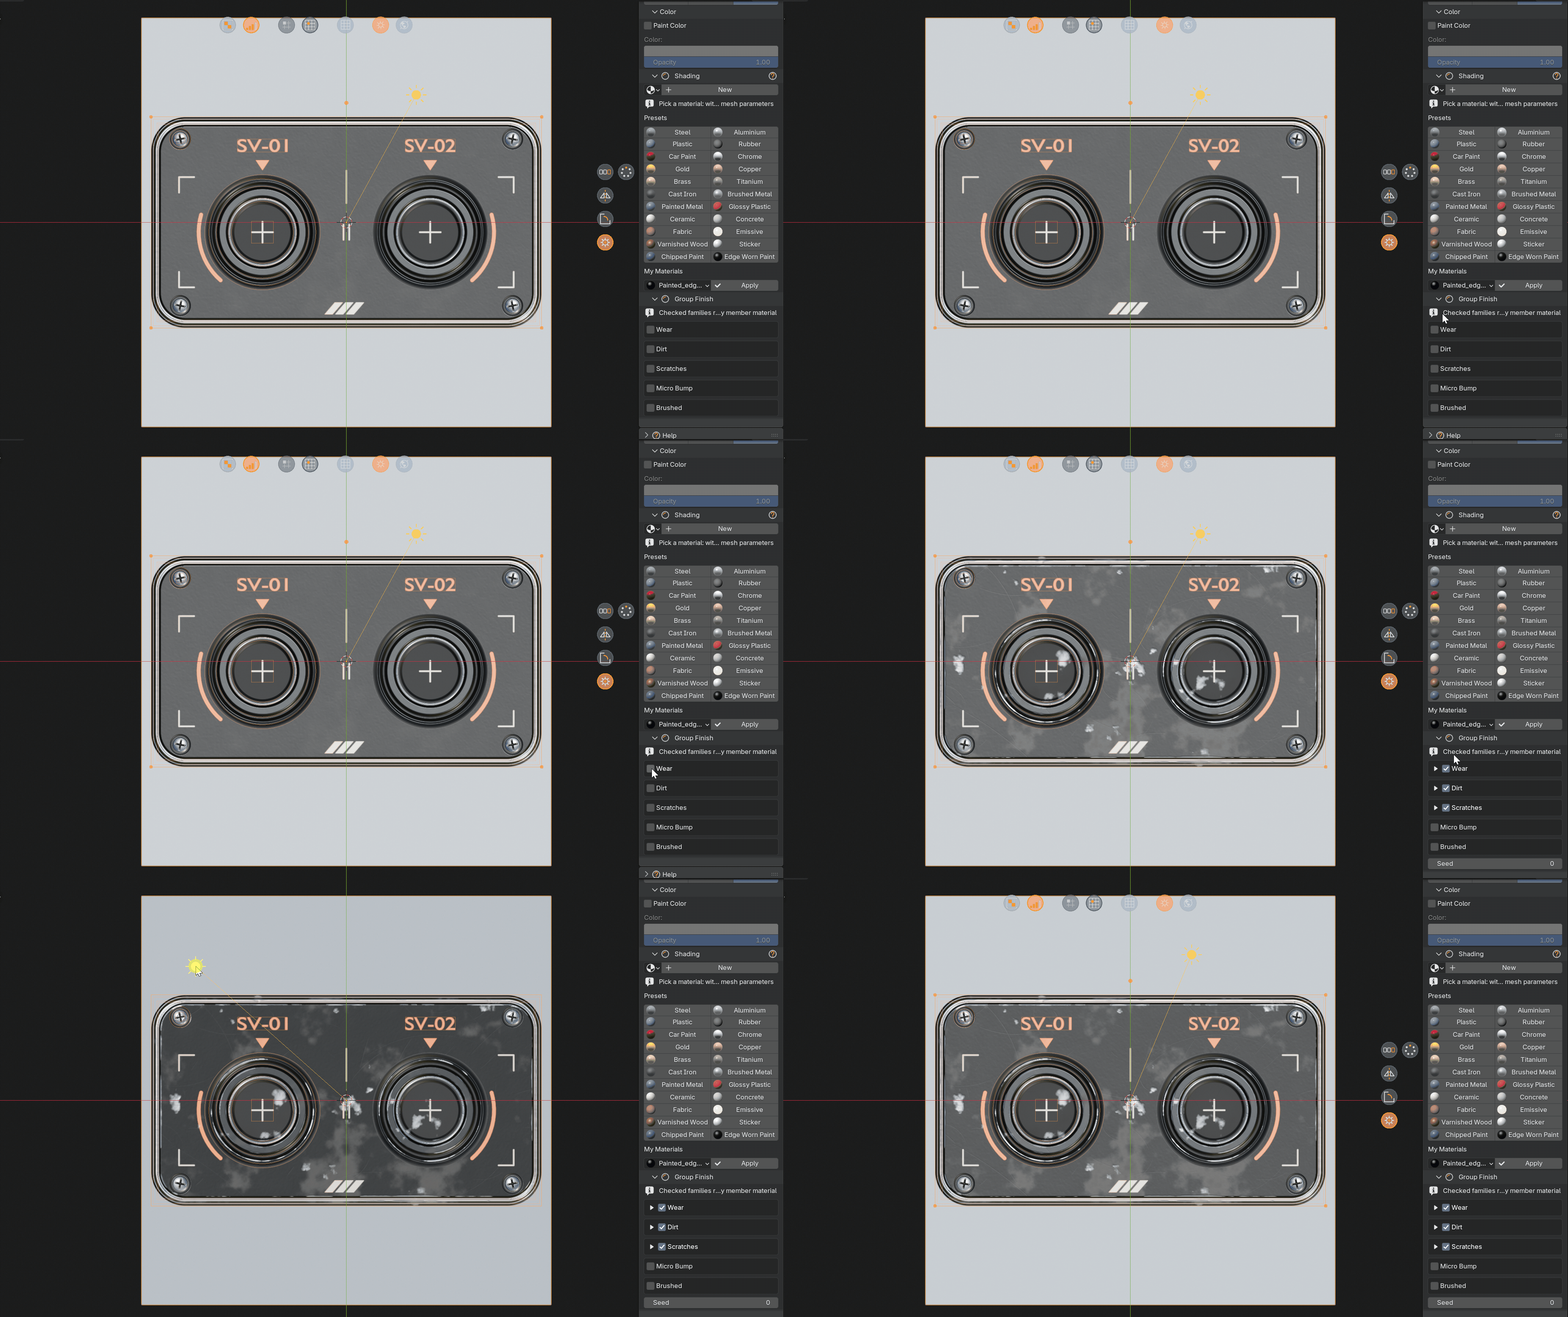
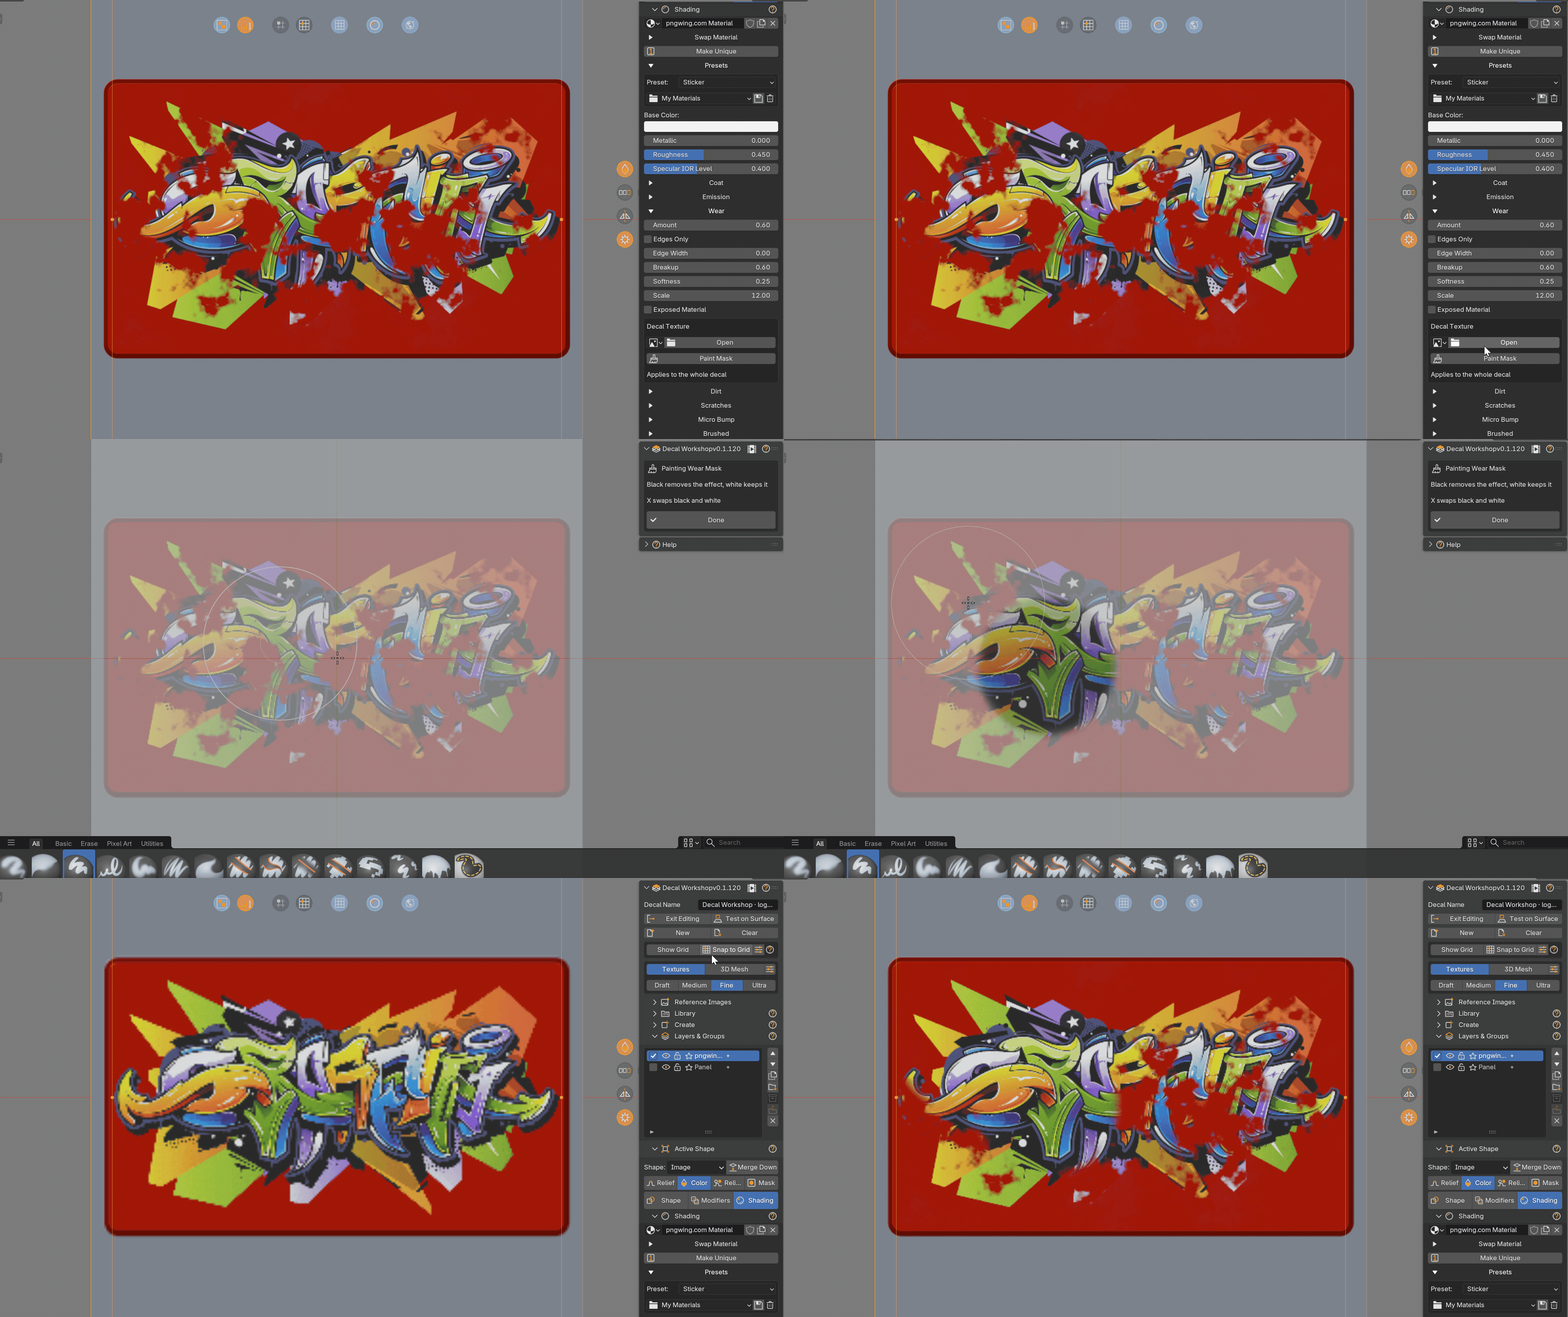
Procedural Wear (paint worn off the edges, with the metal underneath), Dirt in the cavities, Scratches, Micro Bump grain and Brushed metal, each with live settings. Paint a mask directly on the decal to keep an effect only where you want it. The effects are part of the saved maps.
Reference images and workshop light
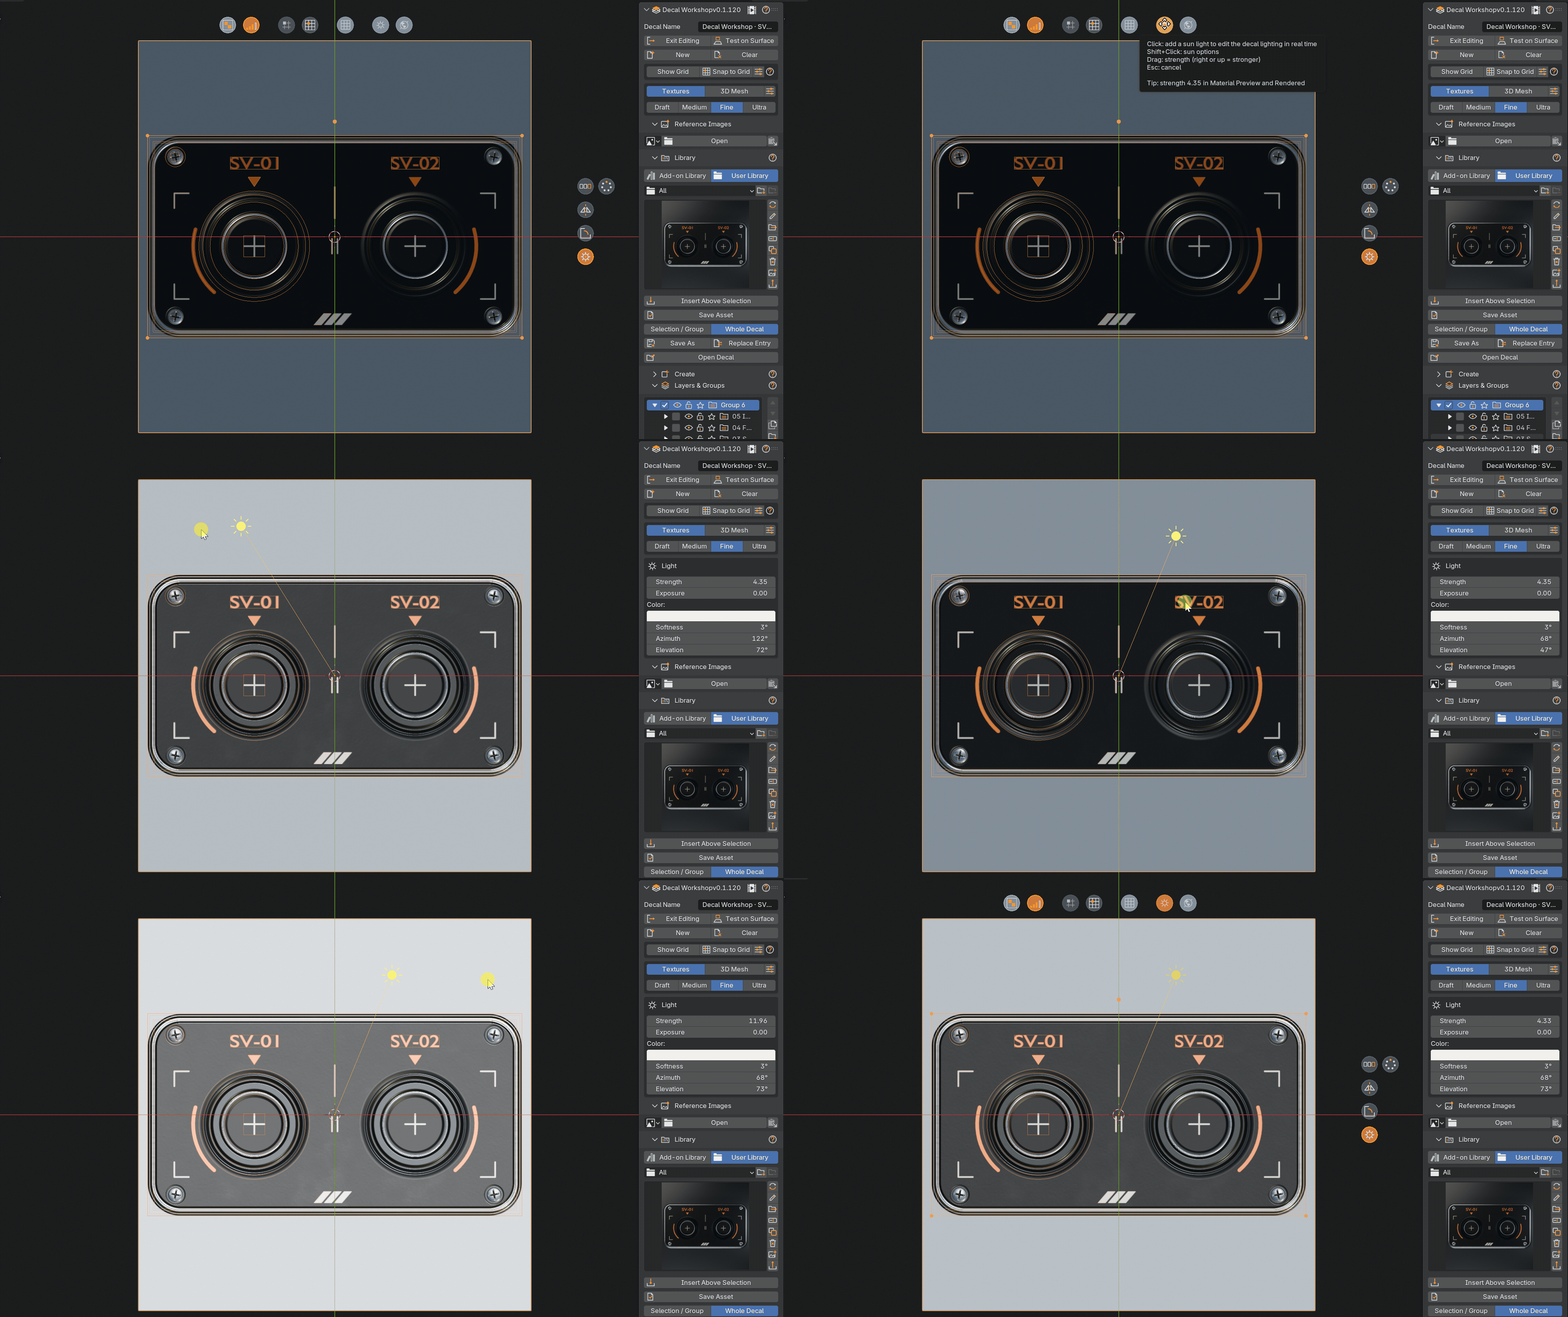
Show a reference image on the grid to trace over it. Turn on a sun light and move it with a gizmo to check the relief from every angle.

Reference Images and Workshop Light
Create from your model
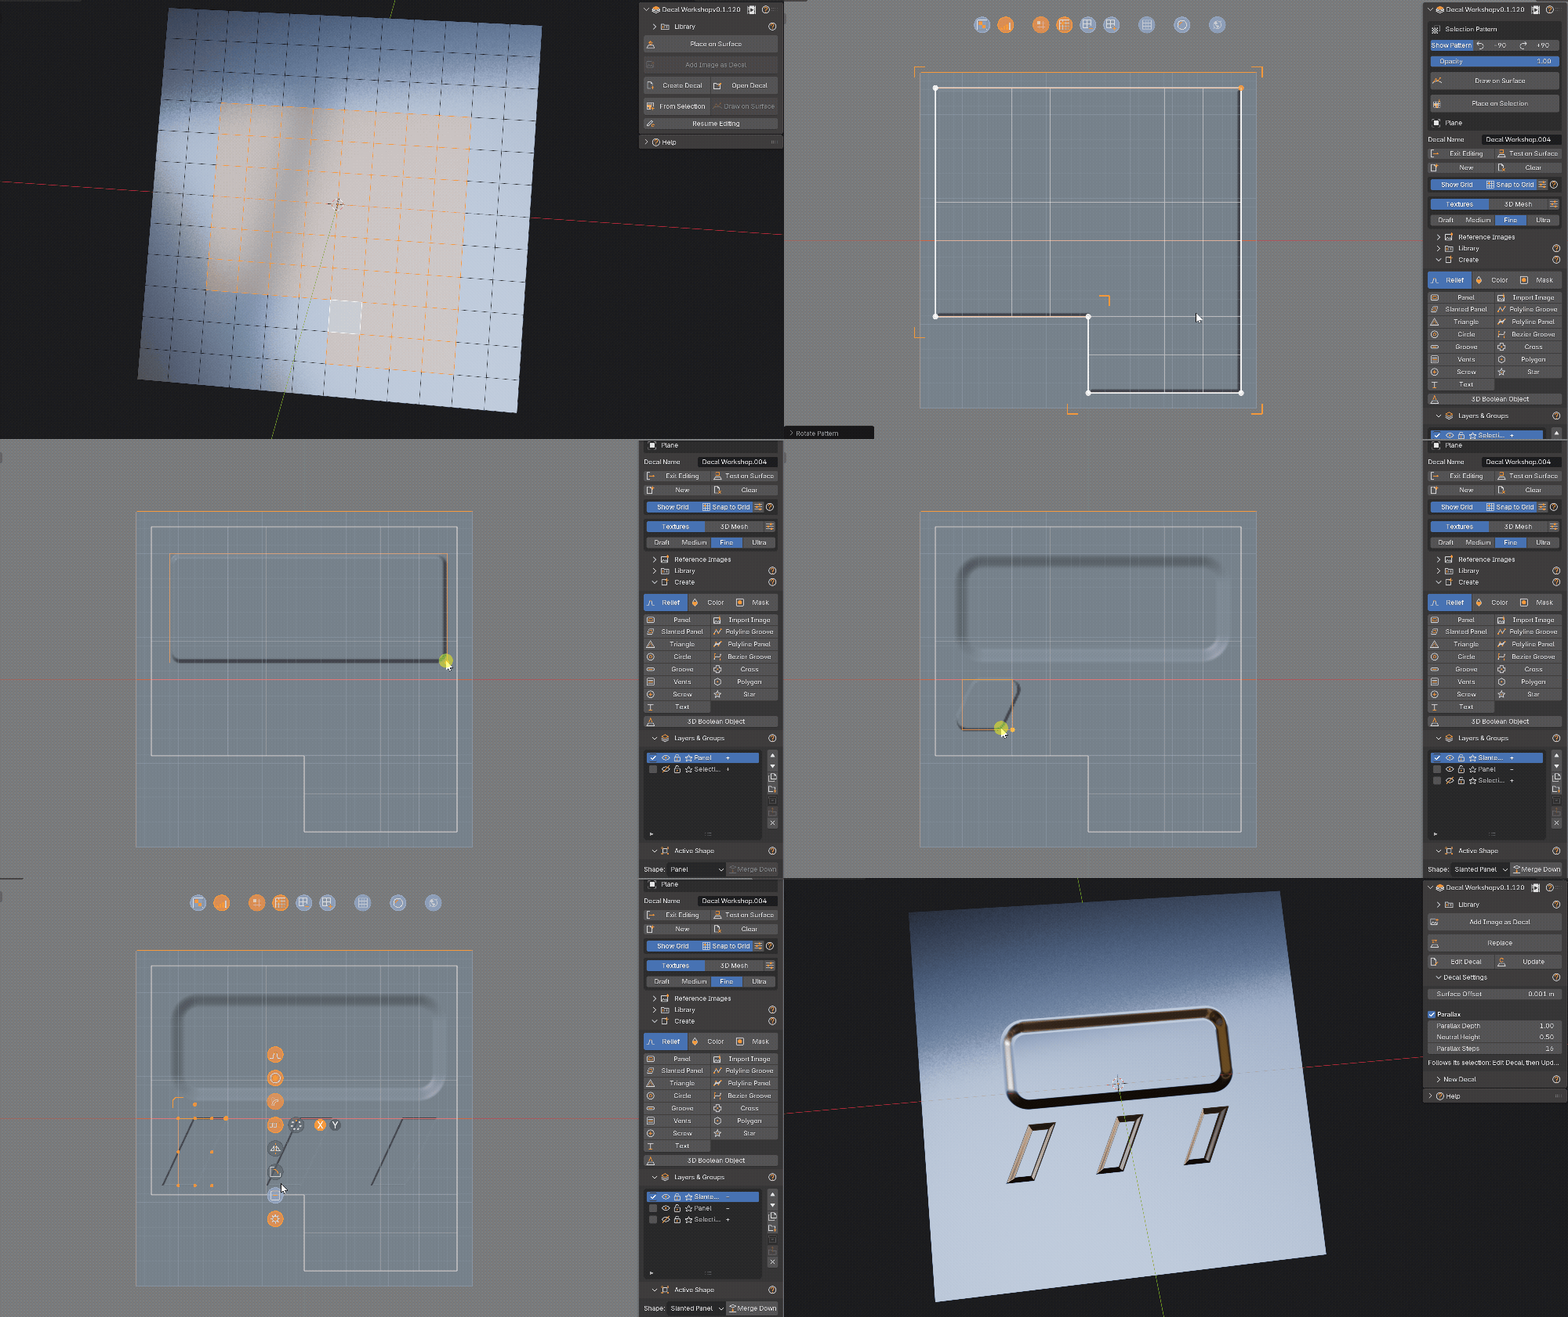
Decal from Selection
Select faces or edges of a mesh in Edit Mode: Decal Workshop unwraps them into a canvas. Faces become panels with their holes cut out, edges become grooves.
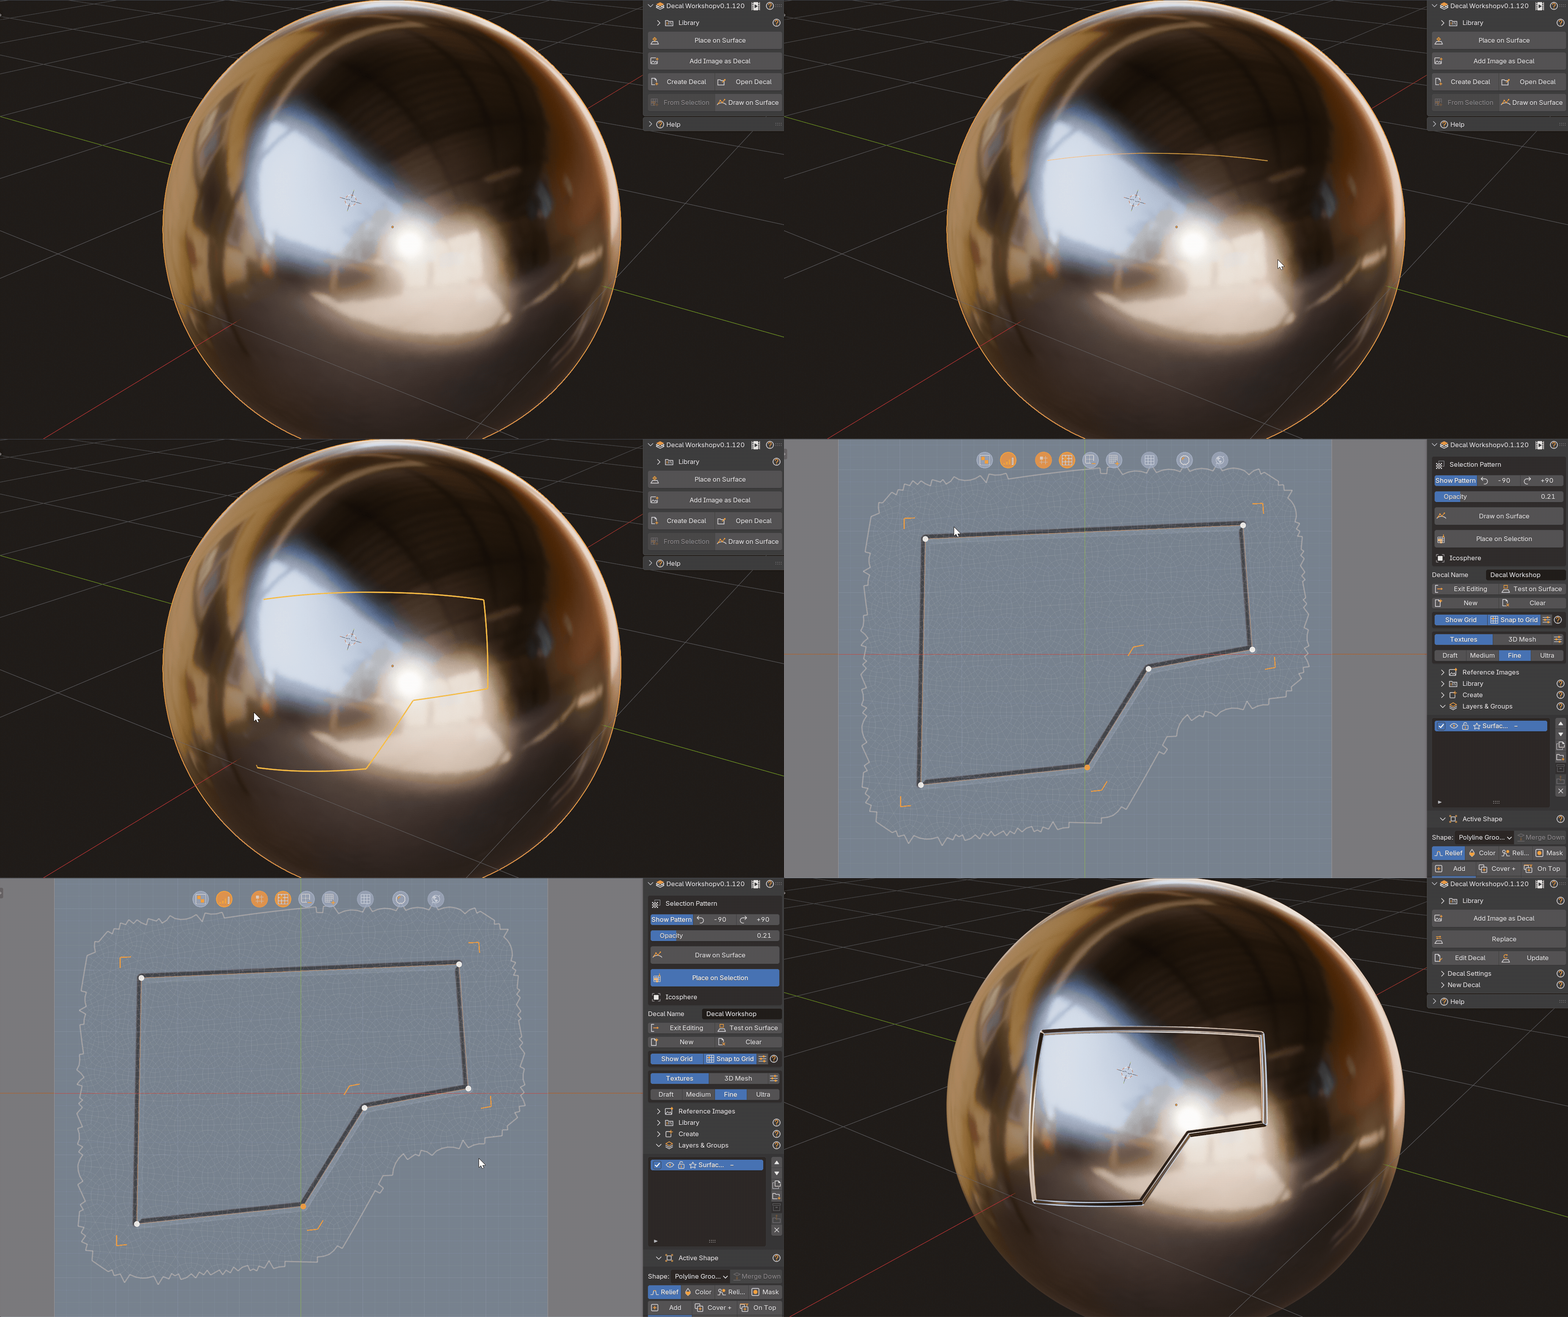
Draw on Surface
Click a path directly on a mesh. A closed path makes a panel, an open path makes a groove, and the decal follows the surface.
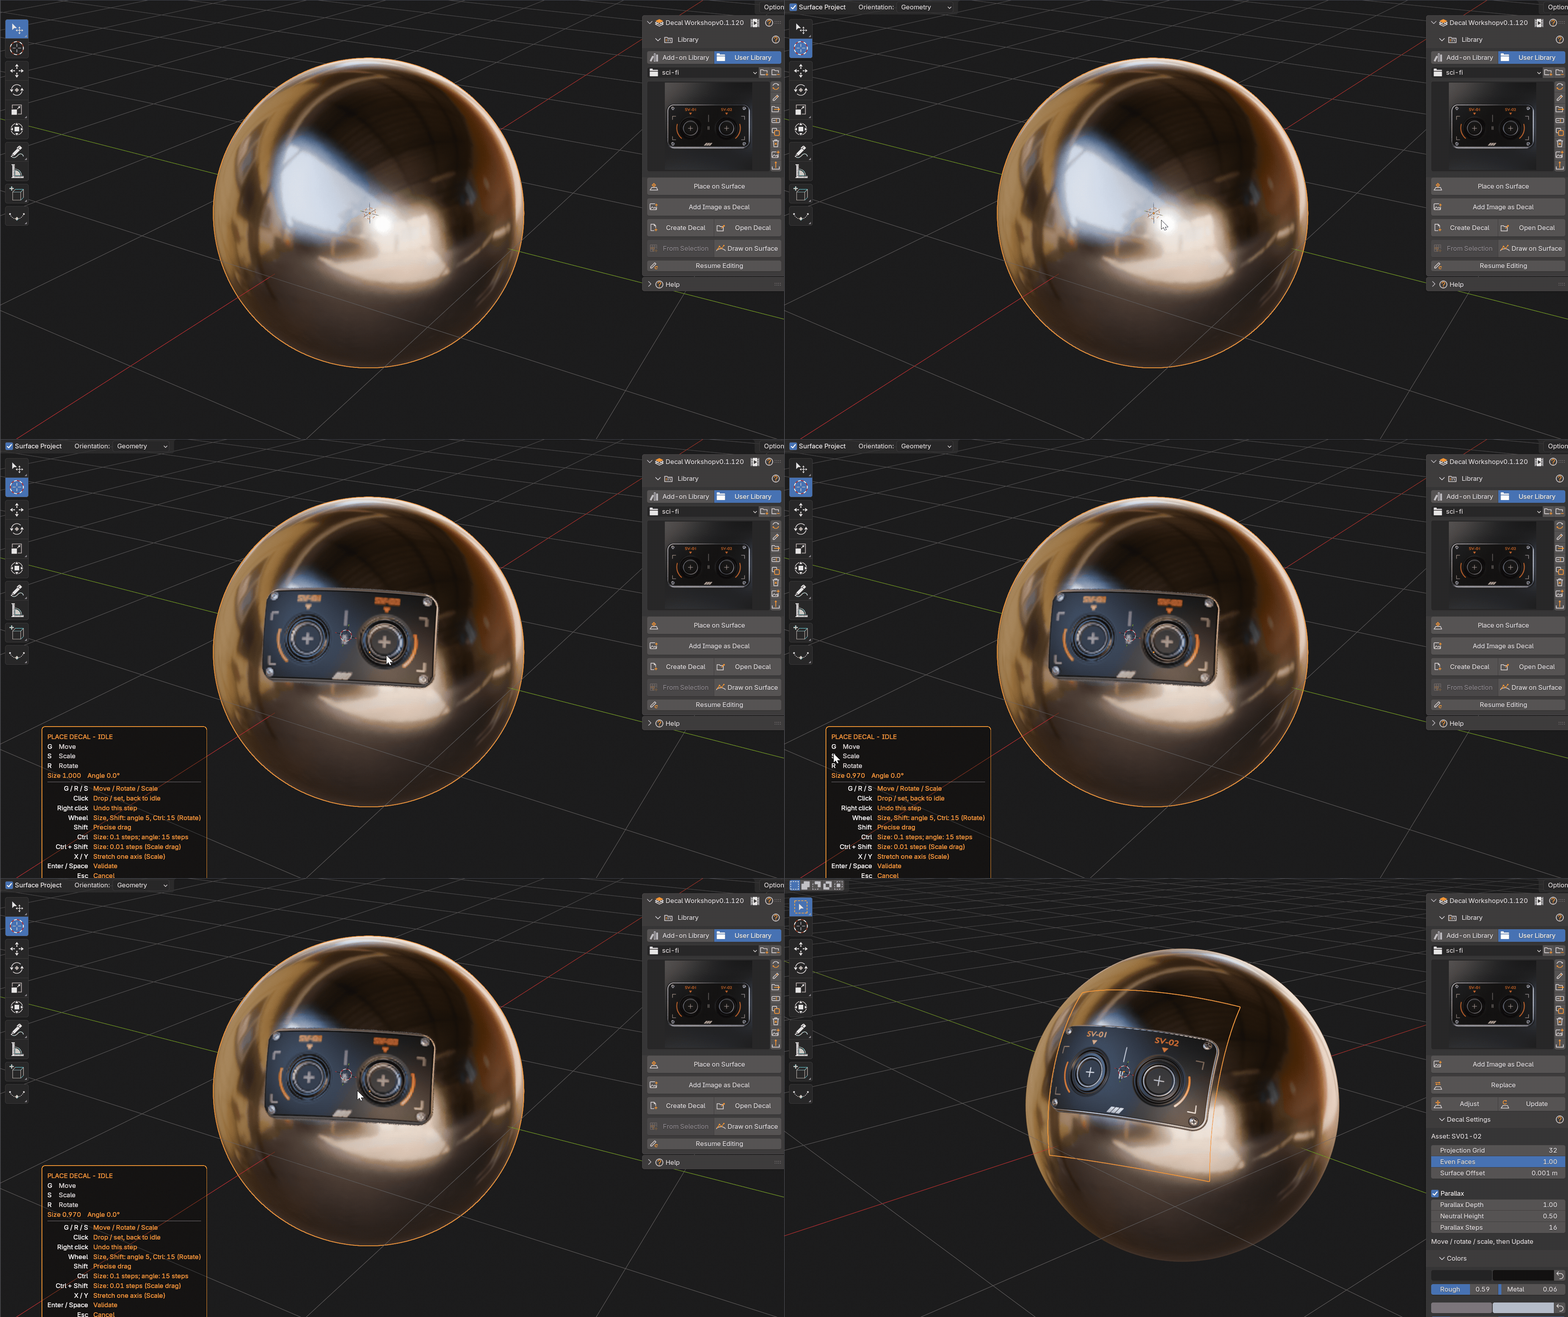
Place on your models
Place on Surface
Point at a mesh and click: the decal is placed as a real object that follows its support. Resize and rotate it while placing, adjust it afterwards.
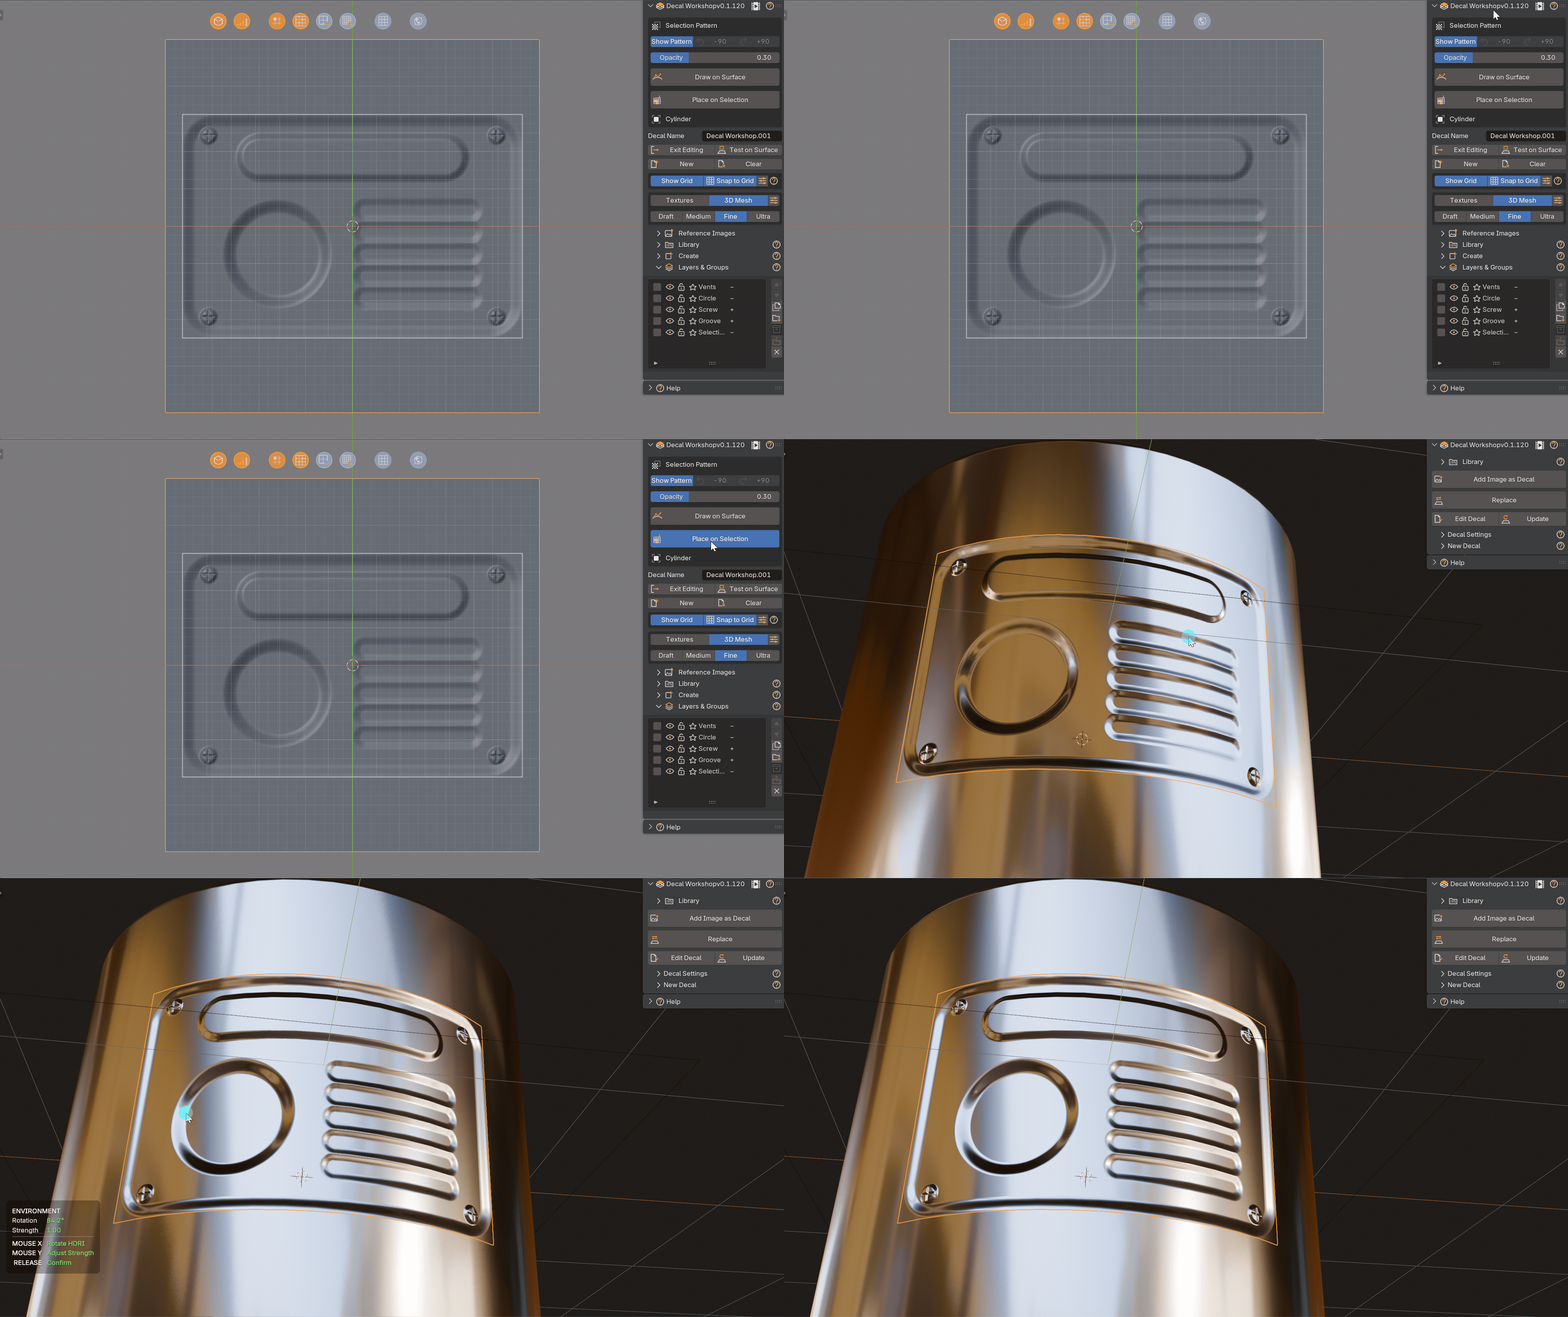
Place on Selection
A decal made from a selection goes back exactly where it came from and follows the surface. Edit the canvas later and update the placed decal in one click.
Junctions
Select two intersecting meshes: a seam decal follows their intersection. Set its width, segments and tiling live, swap the pattern from the library, and apply it only when you are done.

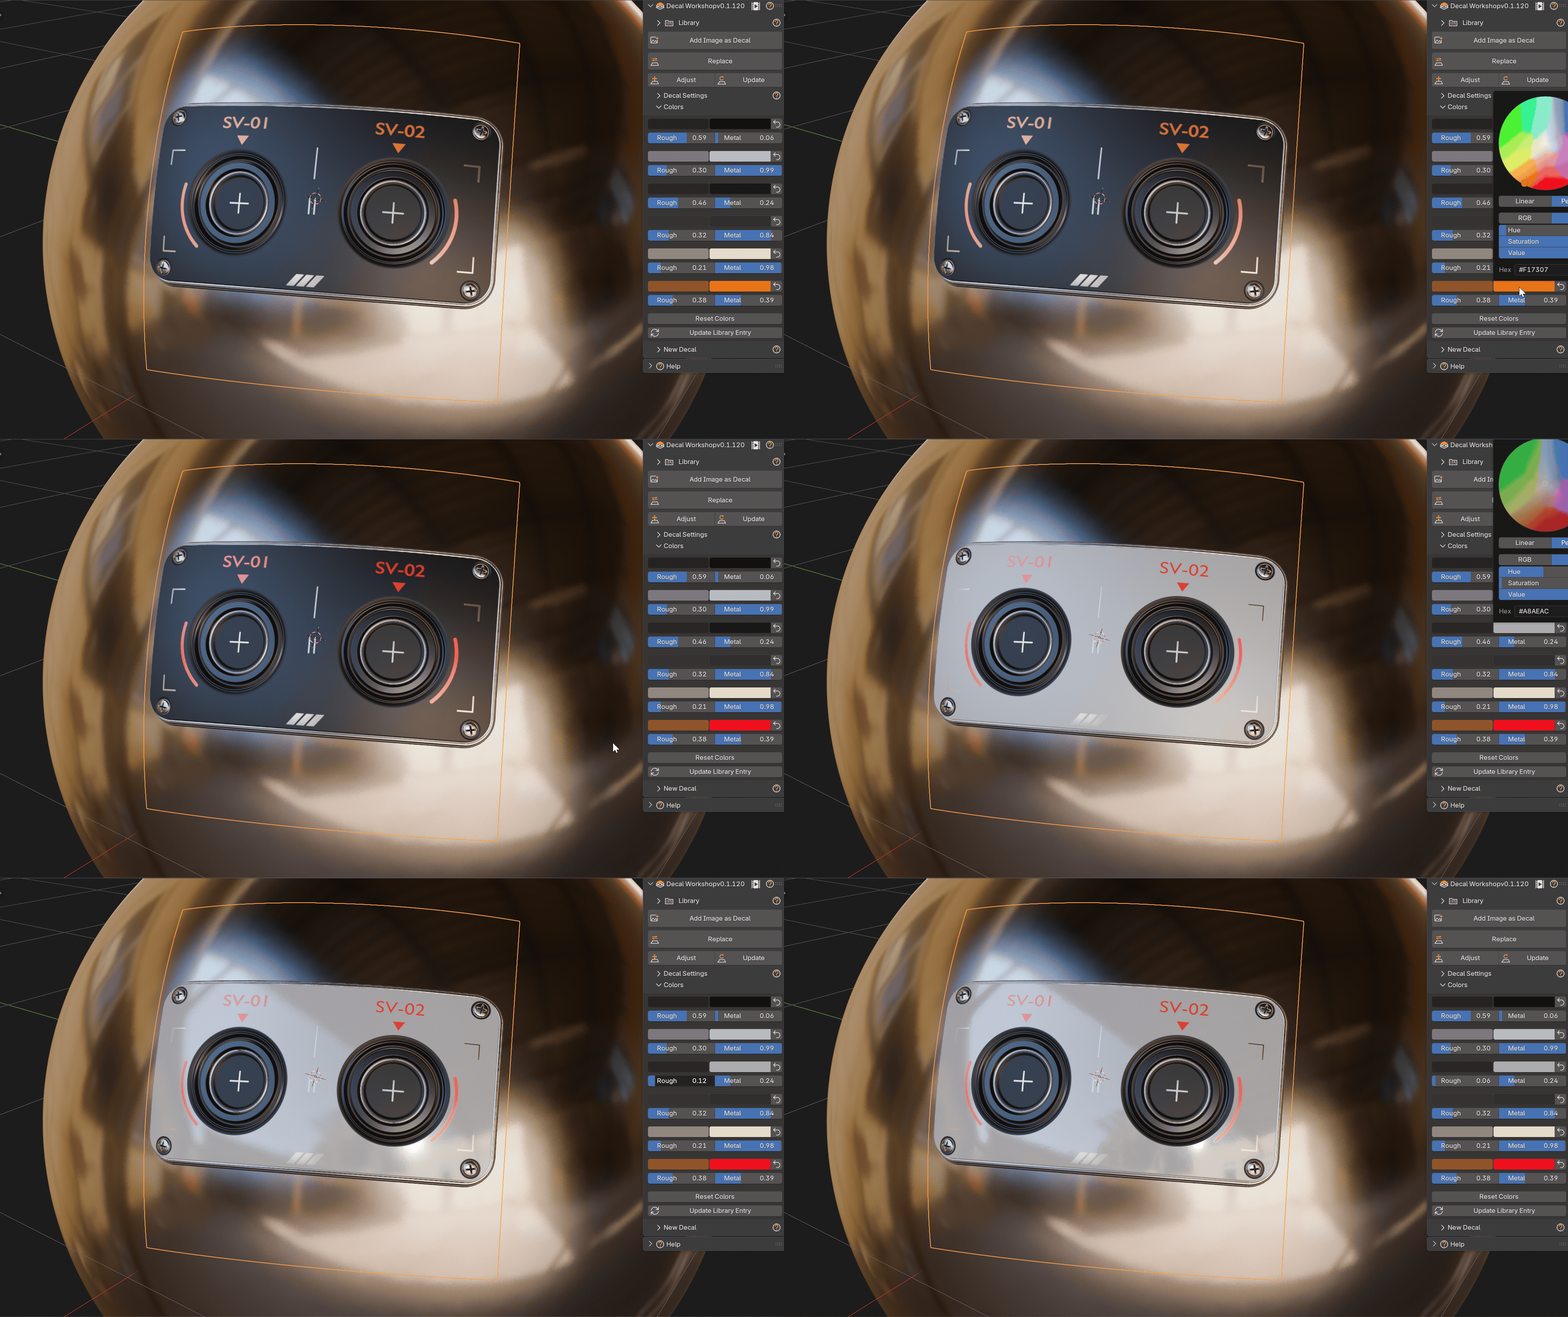
Recolor placed decals
Change the colors, roughness, metallic and emission of a placed decal, reset them, or send the new values back to the library entry.
Library and export
A library of editable decals
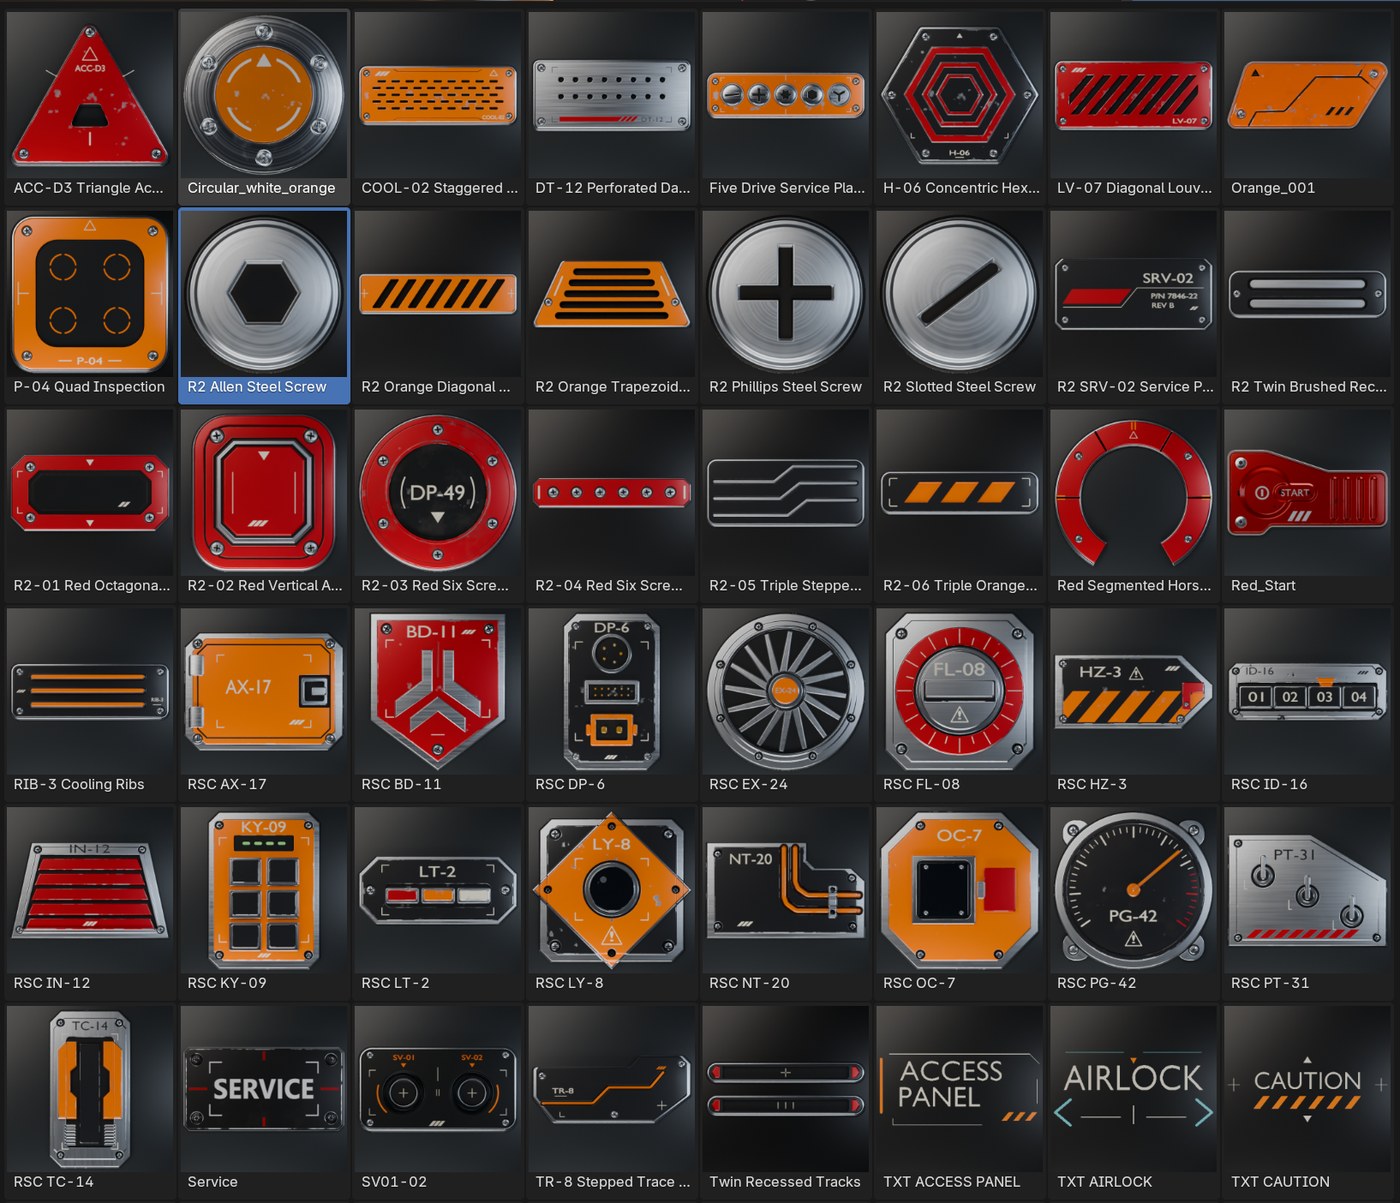
Ready-made decals in categories (screws, recesses, panels, vents, ports, markings, junctions…) plus your own library. Every entry reopens as editable layers. Thumbnails are rendered fast, or in an editable studio scene.
Export to other tools
Export a whole library folder as PBR textures, native DECALmachine decals, or atlases, in a background process.
